
Affiliate disclosure: This guide contains affiliate links. As an Amazon Associate, we earn from qualifying purchases at no extra cost to you. Learn more.
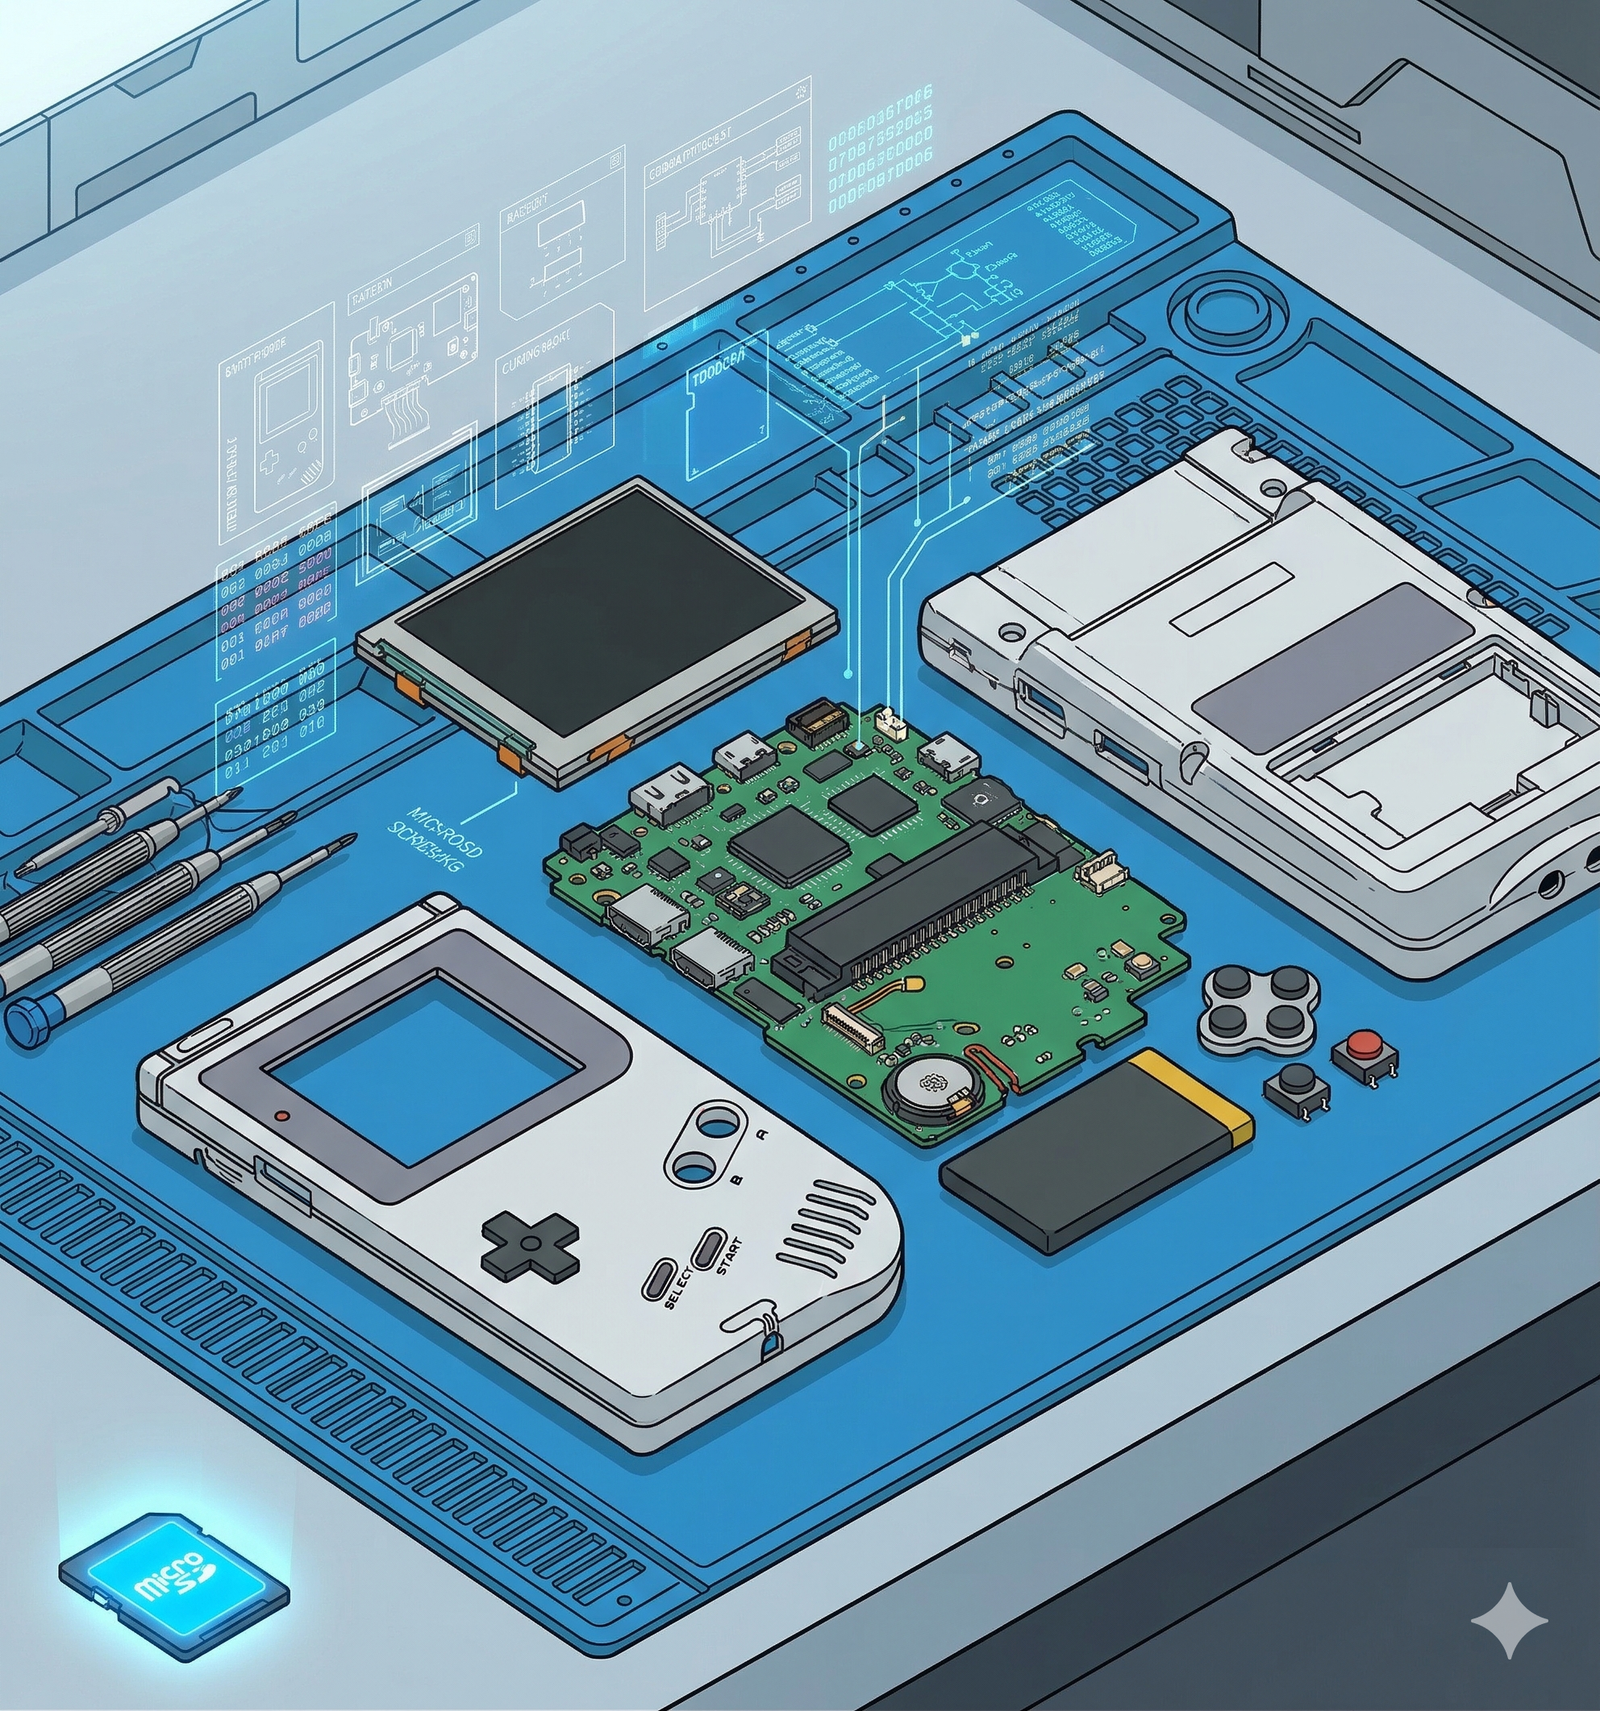
KNULLI is a Batocera-based custom firmware purpose-built for Anbernic's Allwinner H700 chip family. Where muOS gives you a clean, RetroArch-first launcher, KNULLI wraps everything in a full EmulationStation frontend with scraped box art, collections, and per-game overrides baked in. If you own an RG35XX Plus, RG35XX H, RG40XX H, RG40XX V, or RG28XX, this guide gets you from a blank SD card to a fully configured machine. Don't have a device yet? The
is the best H700 device to start with.Compatible Devices
KNULLI targets the Allwinner H700 SoC family. Supported devices:
- Anbernic RG35XX Plus — horizontal form factor, 3.5" IPS display
- Anbernic RG35XX H — horizontal clamshell-style layout
- Anbernic RG40XX H — larger horizontal body with analog sticks
- Anbernic RG40XX V — vertical form factor, excellent ergonomics
- Anbernic RG28XX — compact vertical device
Not compatible: the original RG35XX (Ingenic T618 chip) and the RG35XX SP are not H700 devices and will not run KNULLI. Check your model number carefully before downloading.
KNULLI vs muOS: Which Should You Install?
Both KNULLI and muOS are excellent choices for H700 Anbernic devices, but they have very different philosophies.
✓ Pros
- • EmulationStation GUI with box art scraping built in
- • Per-game and per-system settings overrides without diving into RetroArch menus
- • PortMaster pre-installed — browse and install ports directly from the device
- • OTA updates keep the system current without reflashing
- • WiFi Samba share makes adding games from any PC easy
- • Large Batocera community — guides and themes transfer directly
✗ Cons
- • Heavier RAM footprint (~150 MB) vs muOS's ~60 MB
- • EmulationStation takes a few seconds to load on boot
- • EXT4 second-card format requires Linux or Samba to add games from Windows/Mac
- • Still actively maturing — occasional rough edges in newer builds
muOS takes the opposite approach: a lean RetroArch-first launcher with fast boot times and minimal overhead. Choose muOS if you prefer hotkey-driven navigation, want the absolute fastest startup, or don't need a graphical frontend. Both firmwares support two SD cards, PortMaster, and OTA updates — the difference is in the daily feel.
| Feature | KNULLI | muOS |
|---|---|---|
| Frontend | EmulationStation | MinUI-style launcher |
| Box art scraping | Built-in | Manual |
| Per-game settings | Yes (native GUI) | Via RetroArch menus |
| PortMaster | Yes | Yes |
| OTA updates | Yes | Yes |
| WiFi file transfer | Samba share | Samba share |
| RAM overhead | ~150 MB | ~60 MB |
| Boot time | ~15 seconds | ~8 seconds |
The good news: KNULLI and muOS both live on separate SD cards. You can try one, swap the card, and try the other without losing anything.
What You Need
- An Anbernic H700 device — is the top pick
- Card 1 (OS card, 16–32 GB): A fast Class 10 MicroSD — gives you both cards in one purchase
- Card 2 (games card, 128 GB+): The second card from that same 2-pack works perfectly
- A Windows, Mac, or Linux computer
Why two cards? Card 1 holds only the KNULLI OS — once flashed, you rarely touch it. Card 2 holds your ROM library and saves. If you ever need to update or reflash KNULLI, Card 2 stays untouched. This setup also lets you swap between KNULLI and muOS instantly by swapping Card 1.
Step 1: Download KNULLI Gladiator
Head to the KNULLI GitHub releases page and find the latest Gladiator release — that's KNULLI's codename for H700 device builds.
Download the .img.gz file that matches your device. Filenames follow the pattern knulli-<device>-<date>.img.gz, for example:
knulli-rg40xxv-20240315.img.gzfor the RG40XX Vknulli-rg35xxplus-20240315.img.gzfor the RG35XX Plus
Do not extract the
.gzfile. Both Rufus and Balena Etcher handle compressed images natively and will flash the.img.gzdirectly.
Step 2: Flash KNULLI to Card 1
Windows: Rufus
- Download Rufus (free, no install required)
- Insert Card 1 into your PC
- Open Rufus, click SELECT, and choose the
.img.gzfile - Select the correct drive letter for Card 1 under Device
- Click START and accept the "Write in Image mode" prompt
Warning: Double-check the drive letter before clicking START. Rufus will erase the selected drive completely.
Flashing takes 3–5 minutes depending on card speed.
Mac / Linux: Balena Etcher
- Download Balena Etcher (free)
- Click Flash from file and select the
.img.gzfile - Click Select target and choose your SD card
- Click Flash and wait for it to complete and verify (~5 minutes)
Step 3: First Boot
- Insert Card 1 into Slot 1 (the top slot on the RG40XX V — labeled
TF1orSYS) - Power on the device
- KNULLI will expand its filesystem automatically — this takes about 60 seconds on first boot
- EmulationStation loads directly — no installation wizard
Connect to WiFi now (you'll need it for Samba and OTA):
- Press Start to open the main menu
- Navigate to Network Settings
- Select your WiFi SSID and enter your password
- Note the IP address displayed at the bottom — you'll need it to add games over the network
Step 4: Set Up Card 2 (Games Storage)
EXT4 vs exFAT — Which Format to Choose?
This is the most important decision in this guide:
EXT4 (Linux filesystem)
- KNULLI mounts Card 2 natively; all ROM paths resolve instantly
- Saves write directly to Card 2 from the device
- Downside: Windows and macOS cannot read EXT4 without third-party tools — you must use the WiFi Samba share to add games from a non-Linux PC
exFAT
- Any Windows, Mac, or Linux machine can plug in Card 2 and drag files directly
- Downside: Saves write to Card 1 instead of Card 2; you must power off the device before removing the card
Recommendation: use exFAT if you're on Windows or Mac. Use EXT4 only if you run Linux on your PC and want saves on the games card.
Format Steps
- Power on the device with Card 1 inserted
- Insert Card 2 into Slot 2 (labeled
TF2orGAME) - Press Start > Storage > Format Second SD Card
- Select EXT4 or exFAT
- Confirm — KNULLI formats the card and creates the standard folder structure:
/roms/— system subfolders for your ROMs/bios/— BIOS files/saves/— save states and battery saves
Step 5: Adding Games
Only add legally-owned ROM files you have dumped from cartridges or discs you own.
Option A: WiFi Samba Share (Recommended)
This works on Windows, Mac, and Linux without removing any cards.
Windows:
- Open File Explorer and type
\\<device-ip>in the address bar (e.g.,\\192.168.1.42) - Enter credentials when prompted: username
root, passwordlinux - Navigate to
roms/<system>/and paste your files
Mac:
- Open Finder > Go > Connect to Server
- Enter
smb://<device-ip>and click Connect - Use the same credentials:
root/linux
ROM folder names follow Batocera conventions — for example:
gba— Game Boy Advancesnes— Super Nintendopsx— PlayStation 1n64— Nintendo 64gbc— Game Boy Color
After copying, press Start > Game Settings > Update Game Lists to scan for new files.
Option B: Direct SD Card (exFAT Only)
- Power off the device completely
- Remove Card 2 and plug it into your computer
- Drag ROM files into the appropriate
/roms/<system>/folder - Re-insert Card 2 and power on
- Press Start > Game Settings > Update Game Lists
Step 6: Per-System Settings (Core Overrides)
Core overrides let you tune settings for an entire system — for example, setting a specific video filter for all GBA games.
- Launch any game on the target system
- Press the hotkey + B combination (or your device's menu button) to open the RetroArch Quick Menu
- Navigate to Core Options and adjust settings (video mode, CPU speed, controller layout, etc.)
- Go back to Quick Menu > Overrides > Save Core Override
These settings now apply to every game on that system. Changing them again and saving overwrites the core override.
Step 7: Per-Game Settings (Game Overrides)
Game overrides are KNULLI's standout advantage — a single ROM can have its own shaders, control remaps, and CPU clock while all other games on the system use the core defaults.
- Launch the specific game you want to tweak
- Open the RetroArch Quick Menu (hotkey + B)
- Adjust any settings
- Quick Menu > Overrides > Save Game Override
Example: Enable a CRT scanline shader for one PS1 RPG you're playing while all other PS1 games run without shaders. KNULLI loads the right override automatically each time you launch that ROM.
Step 8: Enabling OTA Updates
- Press Start > System Settings > Software Updates
- Enable Check for Updates at Boot
- To trigger an update manually, press Update System
KNULLI downloads the delta, applies it to Card 1, and reboots. Card 2 (your ROMs and saves) is never touched during an update.
Step 9: PortMaster
PortMaster is pre-installed in KNULLI. Access it from the Ports system in the EmulationStation main menu.
- Navigate to Ports in EmulationStation
- Launch PortMaster
- Browse available ports and press Install
Popular free ports that run well on H700 hardware:
- Celeste — full platformer, runs flawlessly
- Cave Story — the classic freeware version
- OpenBOR — beat-em-up engine with hundreds of community mods
- OpenMW — Morrowind engine (requires the original game's data files)
- 2048 — simple puzzle game, great for testing
Ports install to /roms/ports/ on Card 2 (if configured). Some ports require you to provide data files from the original commercial game — PortMaster will display a note when this is the case.
KNULLI or muOS: The Final Word
- Choose KNULLI if you want a console-like browsing experience with box art, enjoy per-game tweaks without memorizing RetroArch hotkeys, or plan to use PortMaster heavily
- Choose muOS if you want the fastest possible boot time, prefer a lean hotkey-driven workflow, or are adding a second card to a device already running muOS and don't want to reflash
Both are free, both are actively maintained, and neither locks you in. Keep your game card formatted as exFAT and you can swap OS cards to try the other firmware in under a minute.
Related reading
 GuideGuideGuide