
Affiliate disclosure: This guide contains affiliate links. As an Amazon Associate, we earn from qualifying purchases at no extra cost to you. Learn more.
AYANEO Pocket Micro 2 Setup Guide
2026-06-26 · Setup and best settings
Affiliate disclosure: This guide contains affiliate links. As an Amazon Associate, we earn from qualifying purchases at no extra cost to you. Learn more.
The AYANEO Pocket Micro 2 runs full Android 13, which is the source of both its power and its learning curve. Out of the box it does not come with a polished retro frontend, so you set up your own emulators and tune them for the 3.5 inch 960x640 screen. This guide walks through everything in order, from first boot to the per system settings that matter most. Everything here assumes you are playing games you already own and have dumped yourself.
If you are still deciding whether to buy, start with our AYANEO Pocket Micro 2 review.
First Boot Checklist
Do these five things before you load a single game.
- Run Android setup and connect to Wi-Fi. The Pocket Micro 2 has Wi-Fi 6, so use a 5 GHz network for fast downloads.
- Install all system updates. Settings, then System, then update. Launch firmware is rarely the final firmware.
- Sign in to the Play Store if you want to install emulators and apps the easy way.
- Format your microSD card in the device the first time you insert it, then never format it elsewhere.
- Calibrate the TMR sticks in the AYANEO settings or input menu so center and range are correct from day one.
Choosing a MicroSD Card
The Pocket Micro 2 ships with 128 GB or 256 GB of internal storage, and you will want more. A good A2 rated card keeps load times short and large libraries responsive. A 256 GB or 512 GB card is the sweet spot for most people.
Keep your games on the card in clean, per system folders. A tidy folder structure makes scraping artwork and pointing emulators at the right paths far easier later.
The Best Emulators to Install
You can run almost everything through RetroArch, but standalone emulators usually give better performance and per game options on the demanding systems. Here is the practical mix most people land on.
- RetroArch for 2D and the lighter 3D systems. One app covers NES, SNES, Genesis, GBA, PS1, and more with consistent settings and shaders.
- PPSSPP for PSP. The standalone app is the gold standard and runs most of the library at 2x on this chip.
- Dolphin (or the MMJR style forks) for GameCube and Wii. The Snapdragon 865 has strong Dolphin support thanks to the Adreno 650.
- AetherSX2 or its maintained successors for PS2. Use Vulkan and tune per game.
- Flycast for Dreamcast and Atomiswave, either standalone or as a RetroArch core.
- A frontend like Daijisho or ES-DE to tie everything together with box art and one clean launcher.
Recommended Settings for the 3:2 Screen
The 960x640 panel changes how you should think about resolution and aspect ratio.
- Aspect ratio: Set 4:3 systems to their native ratio. On a 3:2 screen they fill most of the panel with thin side bars, which looks clean and correct. Avoid stretching to fill, it distorts the image.
- Internal resolution: For PS1, N64, and Dreamcast, 2x is plenty for a 960x640 screen and saves battery. Pushing higher multipliers wastes power you cannot see at this size.
- PSP: 2x native is the safe target. Some lighter titles take 3x, but 2x keeps thermals and battery in check.
- GameCube and PS2: Start at native or 1.5x with the Vulkan backend. Only raise it on games that clearly hold full speed.
- Shaders: A light LCD or scanline shader can look great on 2D systems, but it costs performance. Try a cheap one first.
- Frame pacing: Turn on the frame skip or frame pacing options inside each emulator if a game stutters before you start lowering resolution.
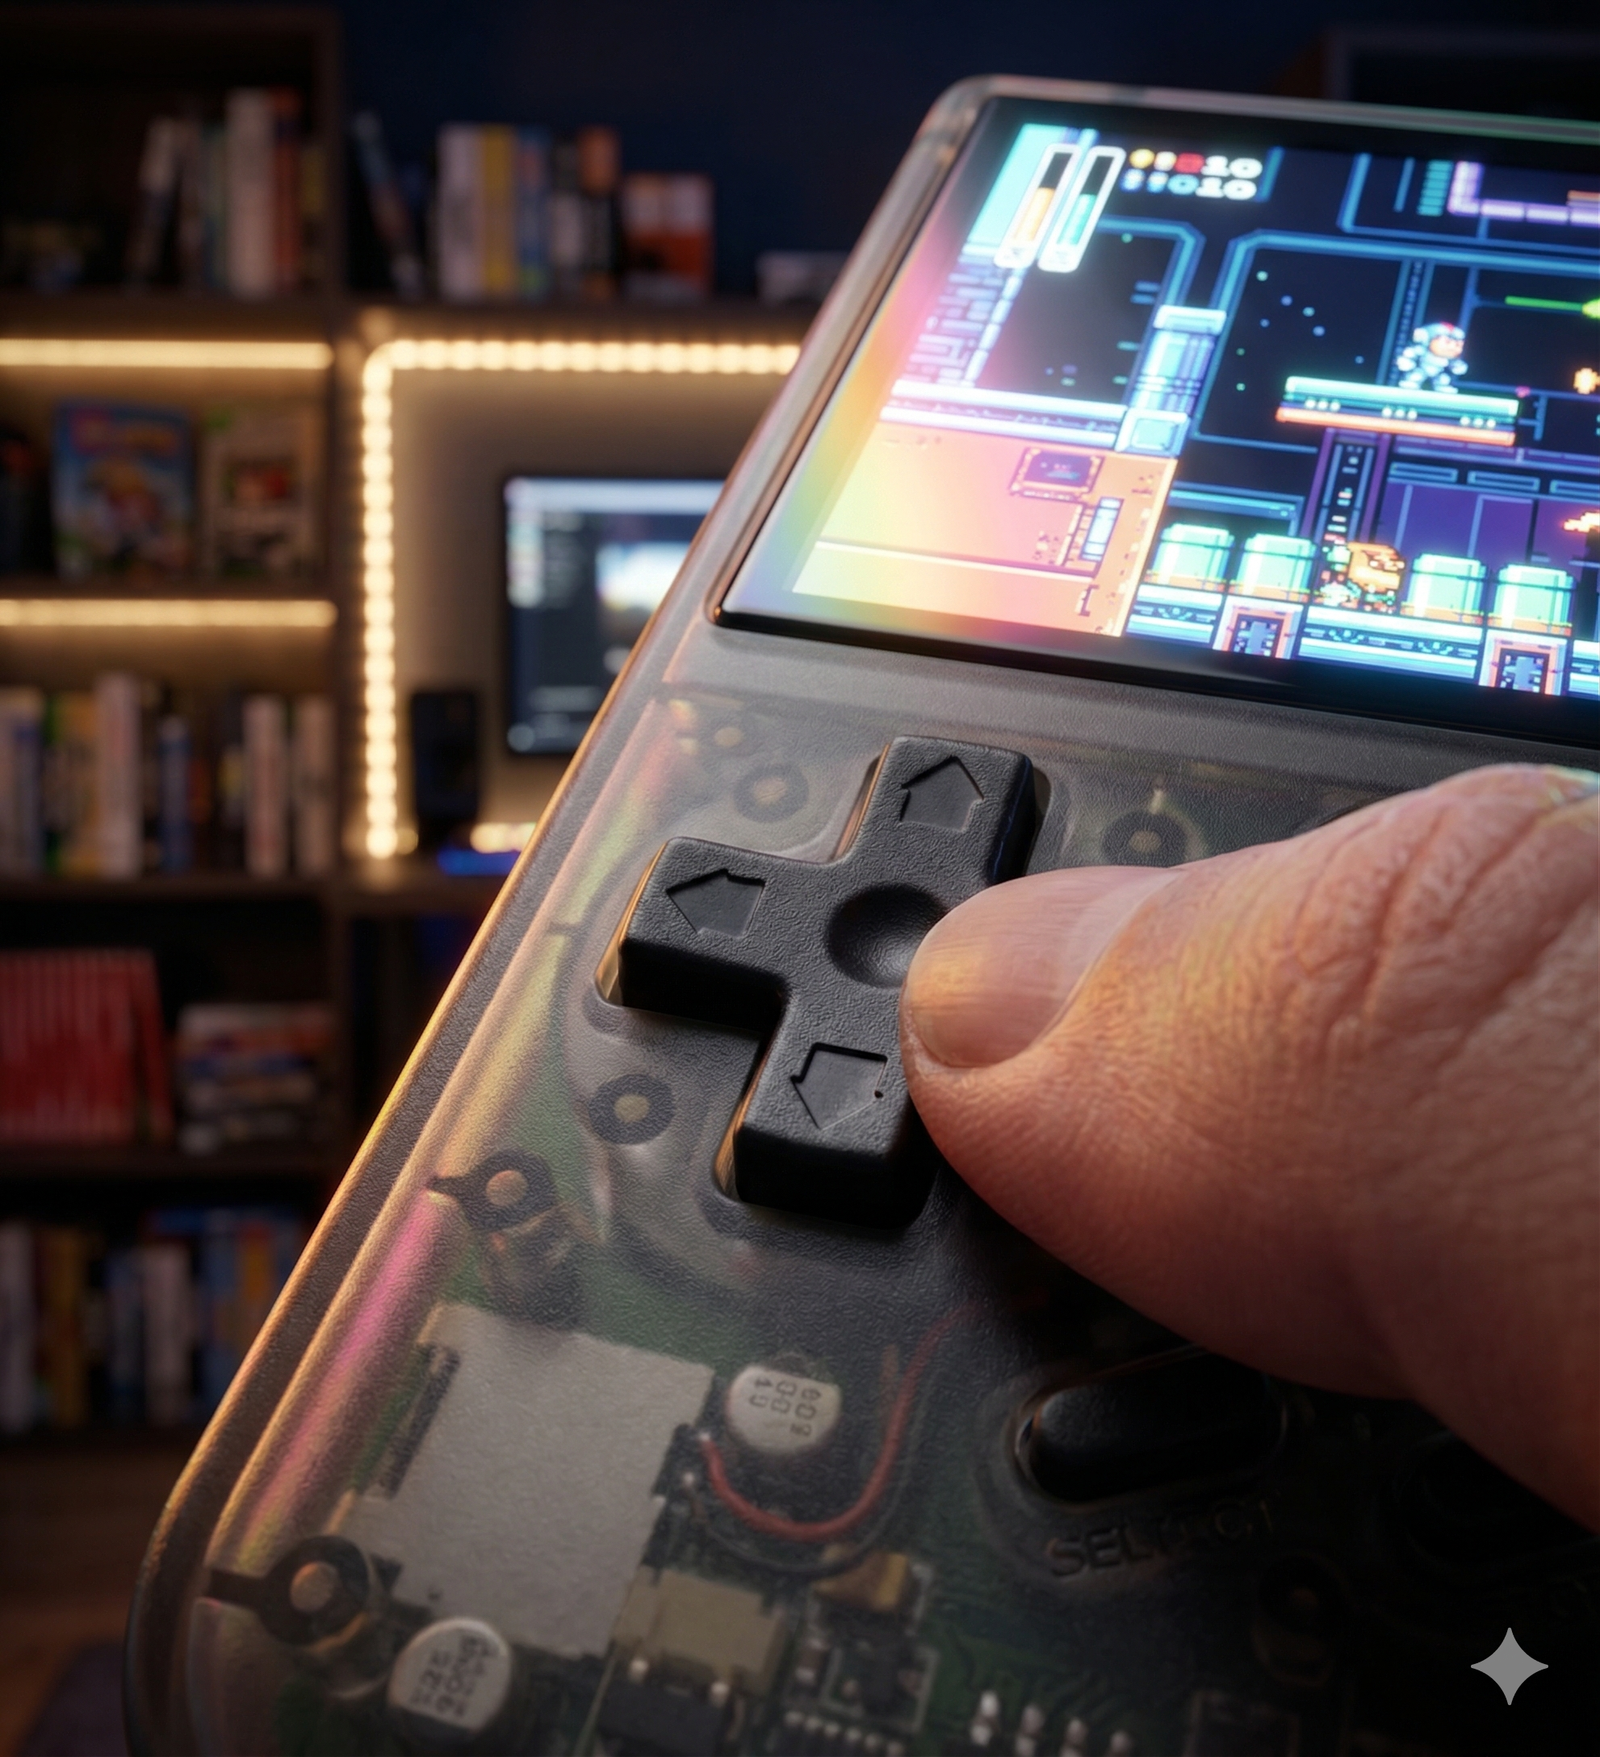
Get the Controls Right
The Pocket Micro 2 uses TMR sticks, which sense position magnetically and should never drift. Still, calibrate them once so the deadzone and range feel right. The triggers are digital rather than analog, so for racing games map acceleration and braking to the triggers as on or off inputs, or remap them to face buttons if a game expects analog input.
If a game needs gyro aiming, check whether the device exposes a gyro sensor to the emulator before relying on it, since AYANEO has not highlighted a gyro on the Pocket Micro 2.
Battery and Thermal Tips
The 3,950 mAh battery is generous for a micro device, but demanding systems still drain it faster. A few habits stretch your sessions.
- Drop the screen brightness. It is one of the biggest power draws on any handheld.
- Use 2x resolution rather than 3x or 4x on 3D systems. You will not see the difference at 3.5 inches.
- Close background apps before a long GameCube or PS2 session.
- Charge with a USB-C Power Delivery brick to refill quickly between sessions.
A protective case is worth it for a pocketable device that travels. It keeps the screen and sticks safe in a bag.
Where to Go Next
Once your library is loaded and tuned, the Pocket Micro 2 becomes one of the most satisfying micro handhelds around. For a sense of exactly what the chip can and cannot push, read our Snapdragon 865 emulation guide. To see how it stacks up against its closest rivals, the Pocket Micro 2 vs Retroid Pocket Classic comparison is the place to start.
Related Reading
Related reading
 Review
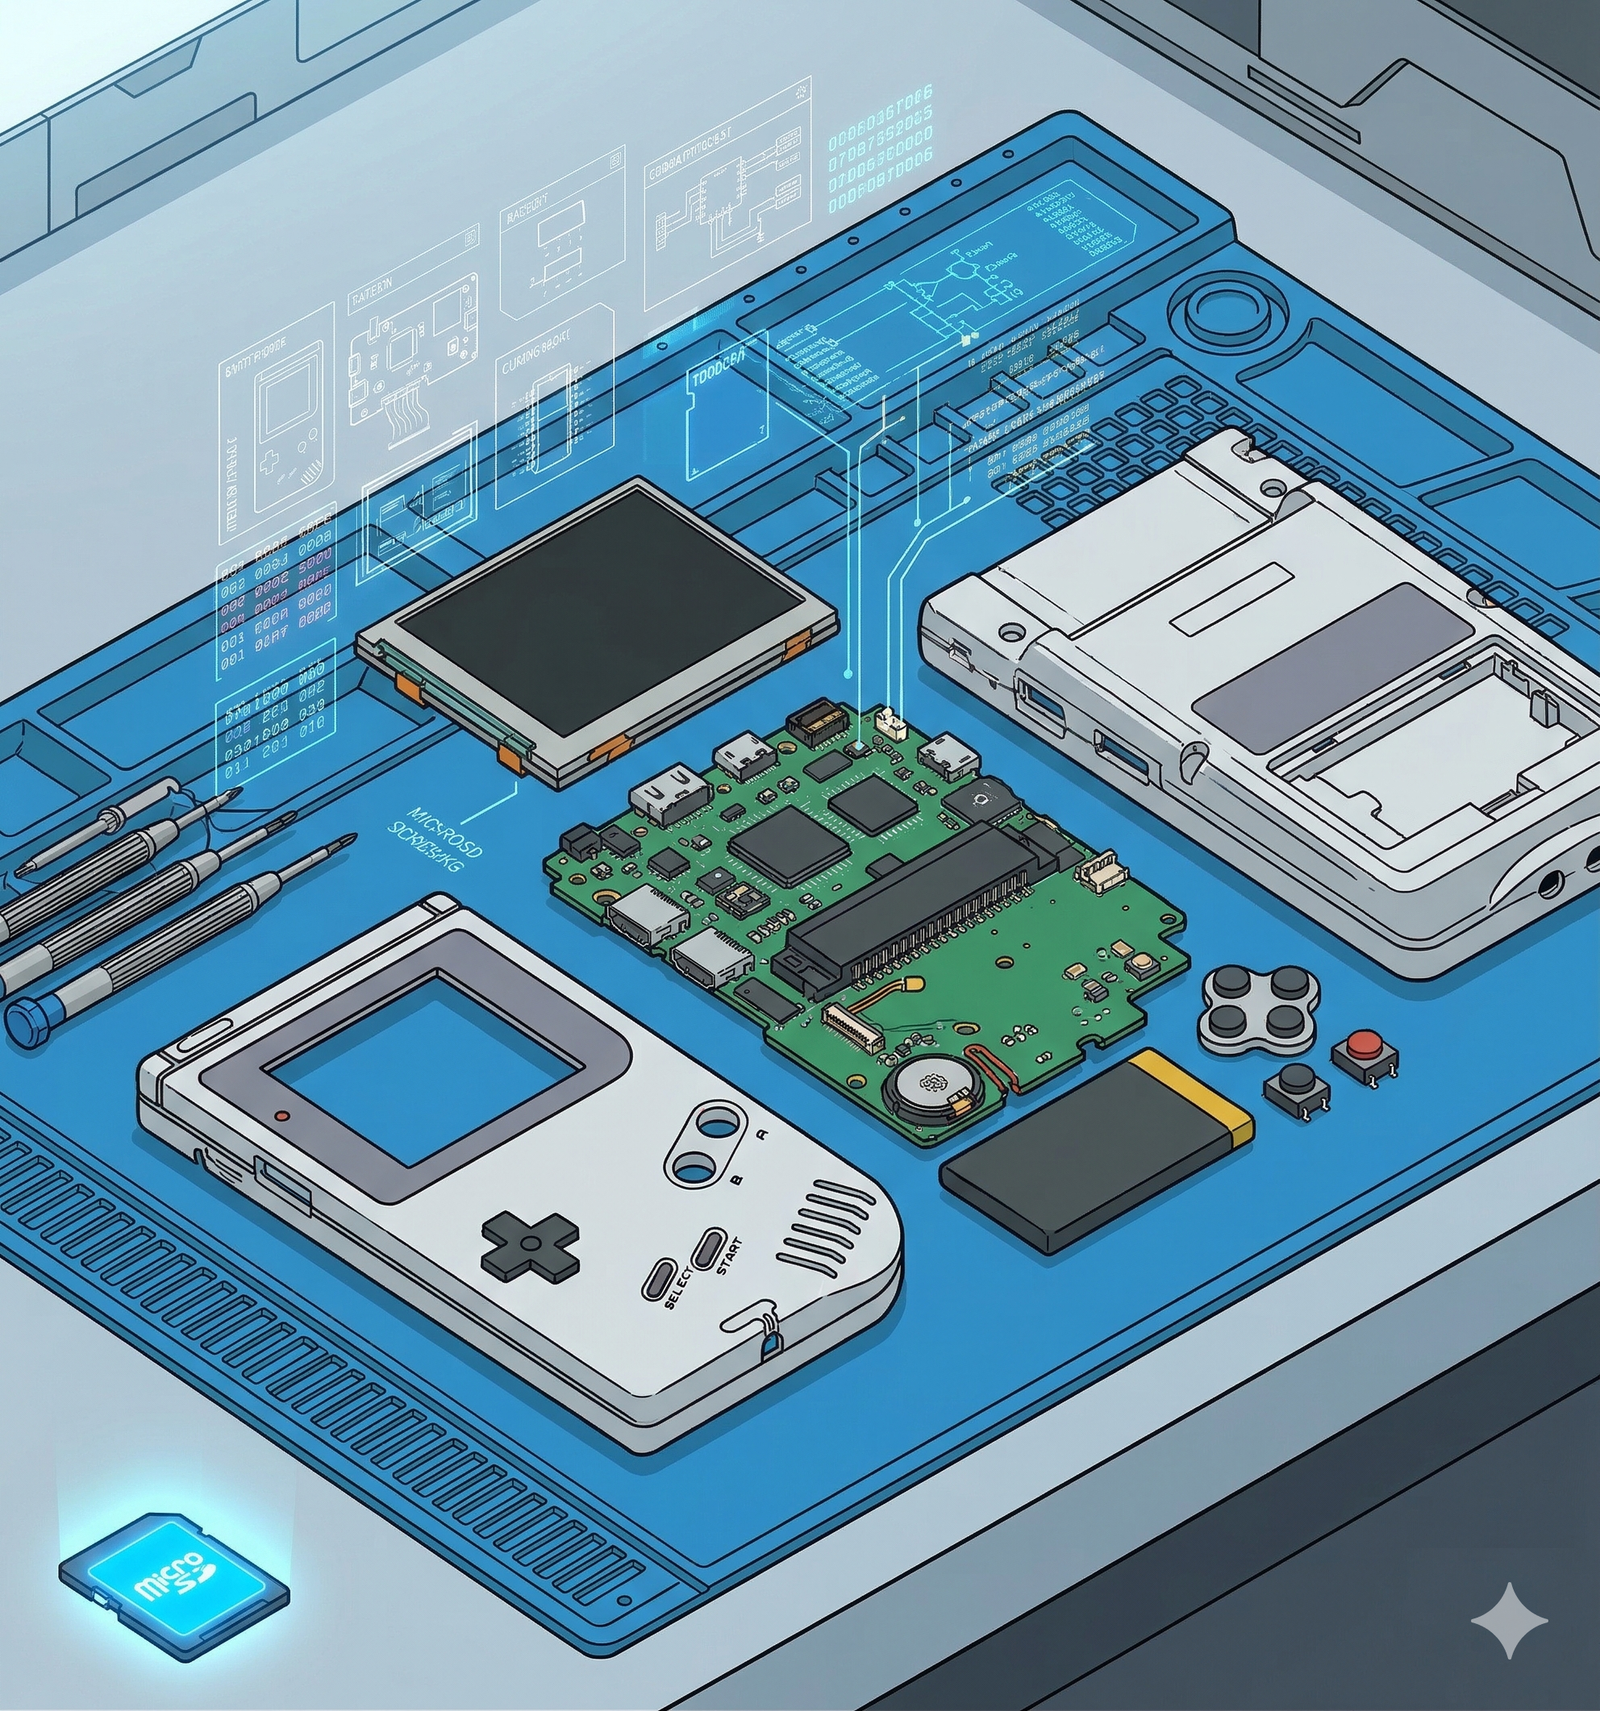 GuideGuide