
Affiliate disclosure: This guide contains affiliate links. As an Amazon Associate, we earn from qualifying purchases at no extra cost to you. Learn more.
KNULLI is a custom Linux firmware for budget retro handhelds, built on the Batocera foundation and wrapped in a polished EmulationStation frontend. It's the premier firmware choice for the Anbernic device family in 2025–2026, offering built-in box art scraping, per-game settings overrides, PortMaster support, and Wi-Fi file transfer out of the box. This guide walks through every step from a blank microSD card to a fully configured machine.
Affiliate disclosure: This page contains affiliate links. As an Amazon Associate, we earn from qualifying purchases at no extra cost to you.
What You Need
- Compatible handheld — KNULLI supports the RG35XX Plus, RG35XX H, RG35XX SP, RG40XX H, RG40XX V, RG28XX, TrimUI Smart Pro, and others. Check the KNULLI GitHub releases page for the full device list and download the image that matches your exact model.
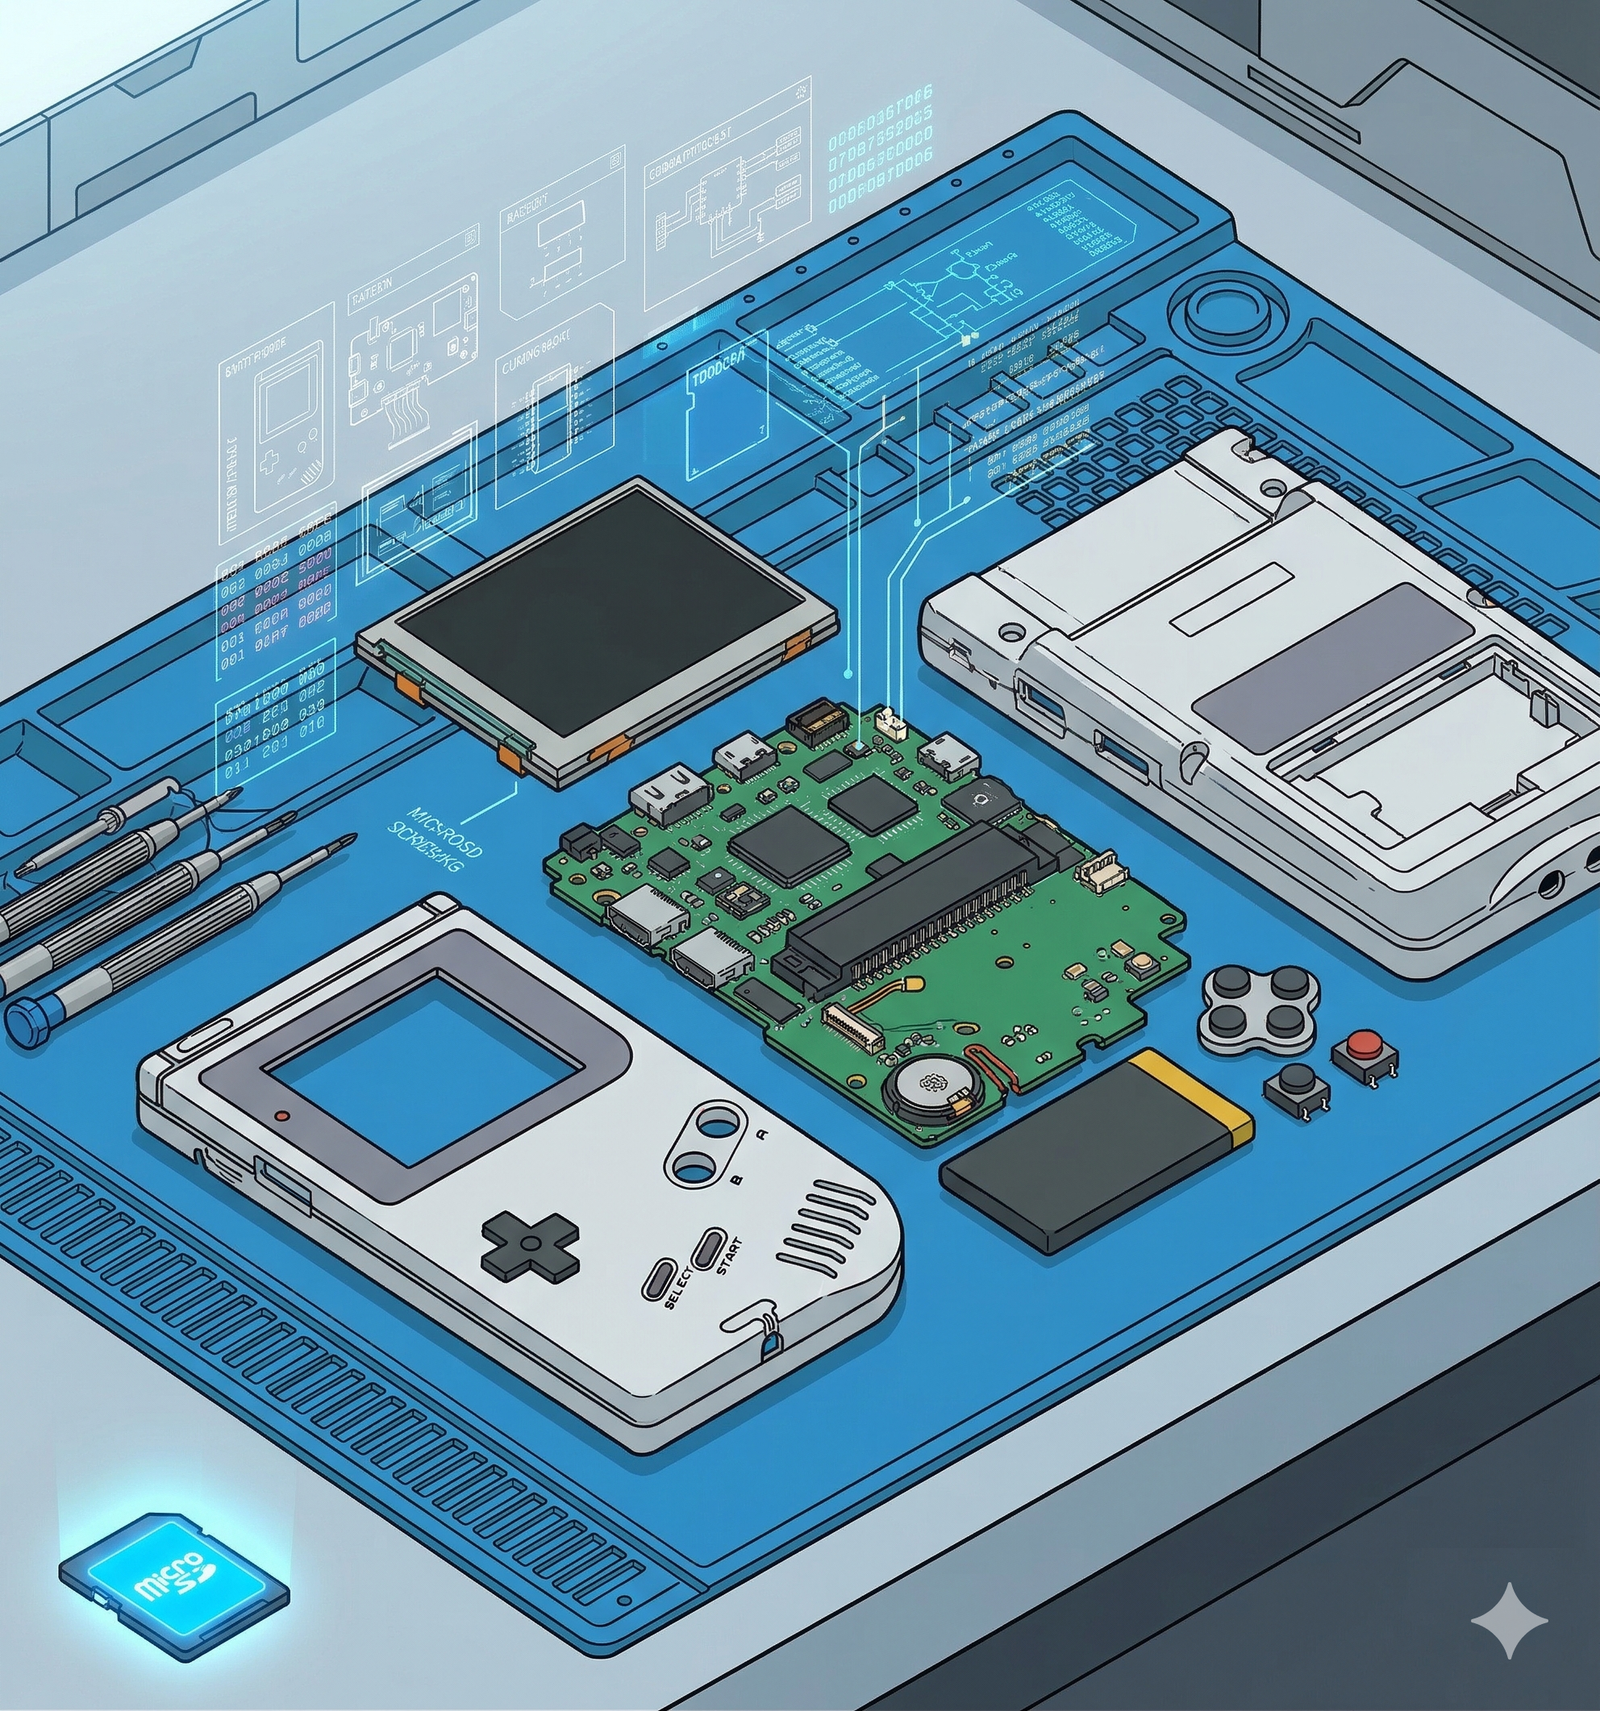
- MicroSD card — 32GB minimum, 64GB or larger recommended. Samsung EVO Select and SanDisk Ultra are reliable choices; avoid unbranded cards.
- Computer with a card reader — Windows, Mac, or Linux
- Balena Etcher (recommended) or Rufus (Windows only) for flashing
- Your legally owned game backups
Don't have a device yet? These are the top picks for KNULLI:
Step 1: Download KNULLI
Go to the KNULLI GitHub releases page and download the latest release.
Critical: Every supported device has its own image file. Download the one that matches your exact model. The filenames follow this pattern: knulli-<device>-<date>.img.gz. For example:
knulli-rg35xxplus-20250101.img.gzfor the RG35XX Plusknulli-rg35xxsp-20250101.img.gzfor the RG35XX SP
Do not extract the .gz file. Both Balena Etcher and Rufus flash the compressed image directly.
Step 2: Flash to MicroSD Card
Mac / Linux: Balena Etcher (recommended)
- Download Balena Etcher (free)
- Click Flash from file and select the
.img.gzfile - Click Select target and choose your microSD card
- Click Flash — wait for flashing and verification to complete (~5 minutes)
Windows: Rufus
- Download Rufus (free, no installation required)
- Insert your microSD card
- Open Rufus, click SELECT, and choose the
.img.gzfile - Confirm the correct drive is selected under Device
- Click START and accept the "Write in Image mode" prompt
Double-check the target drive before flashing. Both tools will erase the selected card completely.
Step 3: First Boot
- Insert the flashed microSD card into your handheld
- Power on the device
- KNULLI will expand its filesystem on first boot — this takes 1–3 minutes and is normal
- EmulationStation loads automatically — no installation wizard required
If your device has Wi-Fi, connect now: press Start → Network Settings, select your network, and note the IP address shown at the bottom of the screen. You'll use it to transfer games wirelessly.
Step 4: Add Your Games
Power off the device and remove the microSD card. Insert it into your computer's card reader. You'll see a roms partition with subfolders for each system:
snes/→ Super Nintendones/→ NES / Famicomgba/→ Game Boy Advancegbc/→ Game Boy Colorpsx/→ PlayStation 1n64/→ Nintendo 64genesis/→ Sega Genesis / Mega Driveports/→ PortMaster ports
Copy your legally owned game backups into the appropriate folder. Re-insert the card, power on, then press Start → Game Settings → Update Game Lists to scan for new files.
BIOS Files
Some systems require BIOS dumps from original hardware:
- PlayStation 1 — requires a PS1 BIOS file. Place it in the
bios/folder at the root of the card. - Other systems — KNULLI will display a warning if a required BIOS file is missing when you try to launch a game.
BIOS files must come from hardware you own. This guide does not link to BIOS sources.
Wi-Fi Transfer (Alternative to Card Removal)
If your device is connected to Wi-Fi, you can transfer games without removing the card:
- Windows: Open File Explorer, type
\\<device-ip>in the address bar, use credentialsroot/linux - Mac: Open Finder → Go → Connect to Server, enter
smb://<device-ip>, same credentials
Step 5: Configure and Customize
Scrape Box Art
KNULLI includes a built-in scraper. Press Start → Scraper, select ScreenScraper as the source, and start scraping. Box art and metadata download automatically for your library. A ScreenScraper account (free) gives you a higher request limit.
Themes
Press Start → UI Settings → Theme to browse and switch between included themes. Additional themes are available through the KNULLI theme downloader under System Settings → Themes.
RetroArch Hotkeys
The default hotkey is the Select button (hold it, then press):
| Combo | Action |
|---|---|
| Select + R1 | Save state |
| Select + L1 | Load state |
| Select + X | RetroArch menu |
| Select + Right | Fast forward (hold) |
| Select + Left | Rewind (if enabled) |
| Select + Start | Quit game |
Wi-Fi Settings
Press Start → Network Settings to enable Wi-Fi and configure your network. Once connected, the Samba share and OTA updates both work automatically.
Step 6: Recommended Settings
Run-Ahead (Reduces Input Lag)
For NES, SNES, and GBA — systems where latency is noticeable — enable Run-Ahead:
- Launch a game on the target system
- Open the RetroArch menu (Select + X)
- Go to Settings → Latency → Run-Ahead to Reduce Latency
- Set to 1 frame, enable Use Second Instance
- Save a Core Override so it applies to all games on that system
Shaders
RetroArch shaders make pixel-art games look sharp and authentic on modern screens. See the RetroArch Shaders guide for CRT and LCD shader recommendations tuned for small handheld displays.
Screen and Sleep
- Brightness: Press the Menu button (or navigate through EmulationStation settings) to adjust screen brightness per your preference
- Sleep timer: Press Start → System Settings → Sleep Timer — 3–5 minutes is a good default to preserve battery
Troubleshooting
"No games found" after updating the game list
Check that your files are in the correct subfolder and that the file extensions match what KNULLI expects. For example, PS1 games should be in psx/ as .bin/.cue or .chd files, not .iso. KNULLI's wiki lists accepted extensions per system.
Black screen on boot Re-flash the image using Balena Etcher. If the problem persists, try a different microSD card — budget no-name cards often fail during the filesystem expansion step on first boot. Samsung EVO Select and SanDisk Ultra are reliable options.
Slow or inconsistent performance Confirm you flashed the correct device image. Running a mismatched image on the wrong hardware is the most common cause of poor performance. Check the filename against your device's exact model number.
MicroSD card not recognized
Some card readers are picky with the two-partition layout KNULLI creates. If your computer doesn't show the roms partition, try a different card reader or use the Wi-Fi Samba share instead.
Related Guides
- OnionOS Setup Guide for Miyoo Mini — the equivalent guide for Miyoo Mini users
- Best Handhelds Under $100 — picking the right device before you set it up
- Best SNES Games for Handheld Emulation — what to play once you're set up
- Best PS1 Games for Handheld Emulation — the PS1 library on a small screen
- RetroArch Shaders Guide — make your games look great
Related reading
 GuideGuideGuide