
Affiliate disclosure: This guide contains affiliate links. As an Amazon Associate, we earn from qualifying purchases at no extra cost to you. Learn more.
Not everyone wants scraped box art, animated themes, and deep settings menus. Some people just want to turn on a handheld, see a clean list of games, and start playing. That is exactly what MinUI and its modern successor NextUI deliver. They strip the experience down to the essentials, and the result is calm, fast, and friendly.
This guide explains the difference between MinUI and NextUI, which devices they support, and how to get one running on your handheld. We frame all of this around playing games you already own.
Affiliate disclosure: This page contains affiliate links. As an Amazon Associate, we earn from qualifying purchases at no extra cost to you.
MinUI vs NextUI
MinUI is the original minimalist firmware. It shows a plain text list of your systems and games, with no box art and almost no menus. It boots fast, sips battery, and gets out of your way. The whole philosophy is less clutter and more playing.
NextUI is a community fork of MinUI that keeps the clean spirit but adds modern touches. Depending on your device, that can include box art thumbnails, better menu visuals, more settings, and quality-of-life features that MinUI leaves out. For most people on a supported device, NextUI is the more polished pick today.
Both share the same core idea. If you love simplicity, you will be happy with either.
Supported Devices
MinUI and NextUI run on a range of small handhelds.
- Trimui Brick and Trimui Smart Pro
- Miyoo Mini and Miyoo Mini Plus
- Several other small Allwinner and similar handhelds
Support changes over time as the projects evolve, so check the official documentation for your exact device before you start.
Why Choose a Minimal Frontend
✓ Pros
- • Boots in just a few seconds, often faster than full firmware
- • Excellent battery life thanks to low overhead
- • Clean, distraction-free menus that are easy for anyone to use
- • Automatic resume picks up exactly where you left off
- • Simple to install and easy to update
- • Great for kids or anyone who wants pure pick-up-and-play
✗ Cons
- • Fewer features than KNULLI or full EmulationStation firmware
- • MinUI has little or no box art by design
- • Per-game tweaking is more limited than power-user firmware
- • Supported on a narrower set of devices than ArkOS or muOS
If you want a richer, console-like experience instead, our muOS vs KNULLI vs Onion OS guide compares the heavier options.
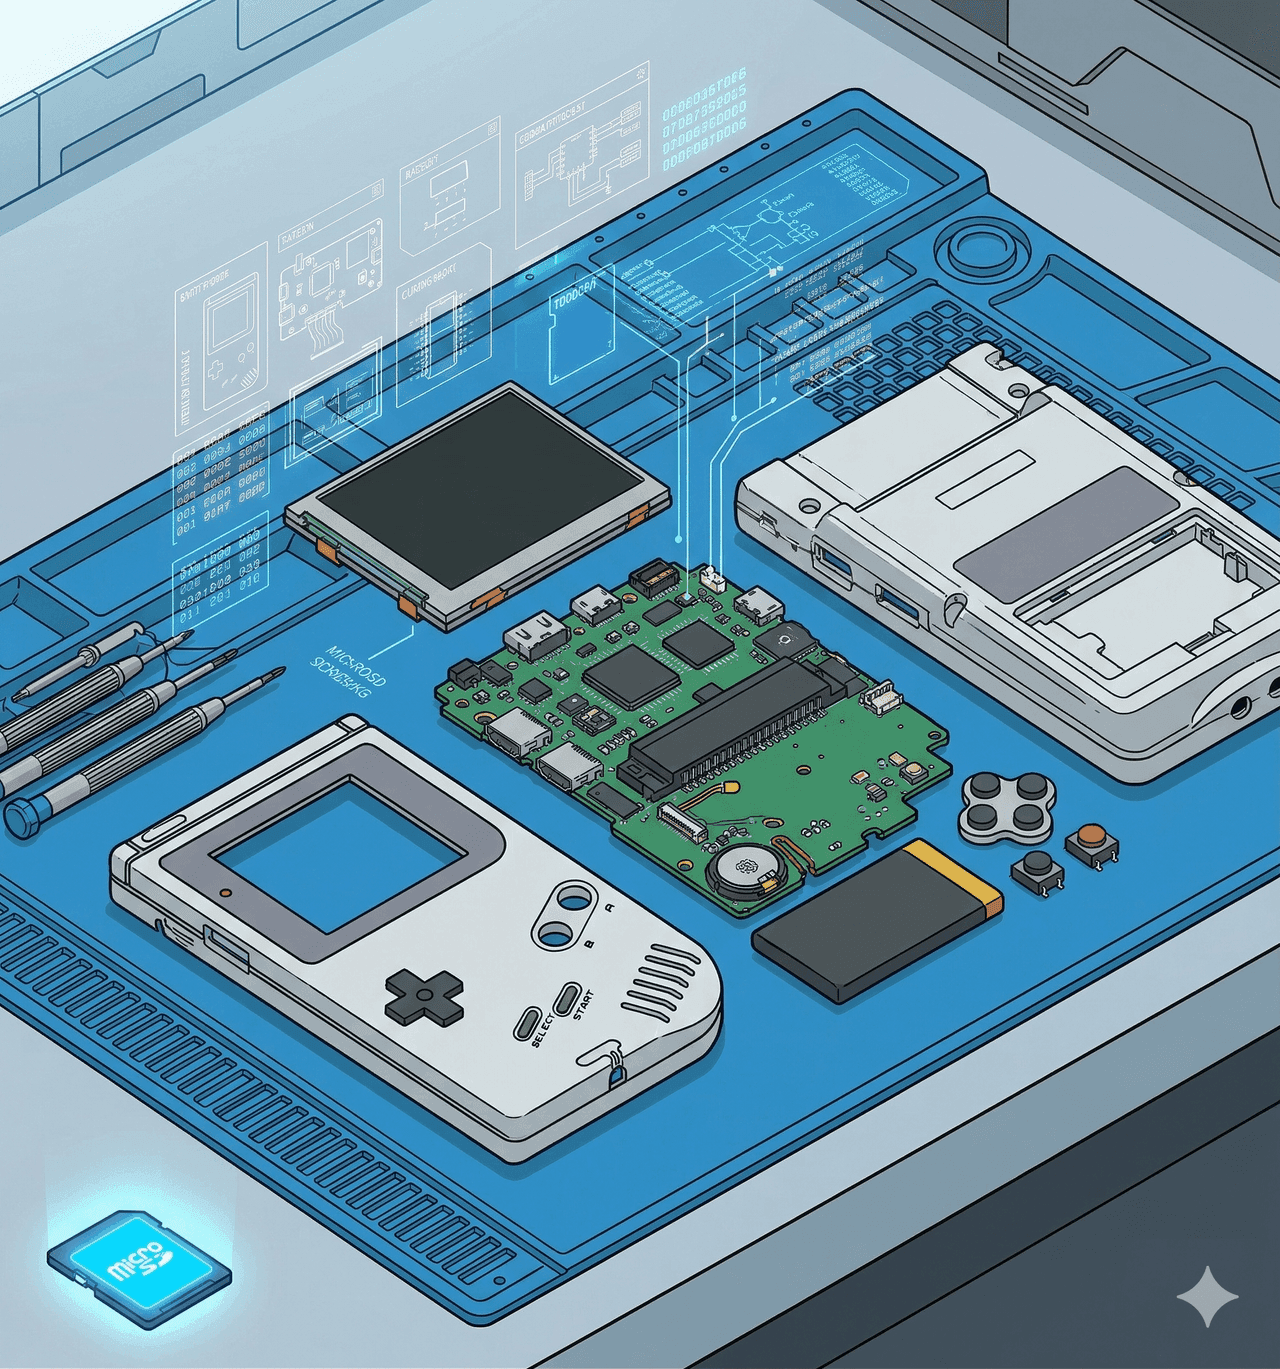
What You Need
- A supported handheld
- A microSD card, 32GB or larger
- A microSD card reader and a computer
- The MinUI or NextUI release for your device
- A tool to unzip files
Step 1: Download the Release
Go to the official MinUI or NextUI releases page and download the latest build. These projects usually ship as a zip file that you extract directly onto a freshly formatted card, rather than an image you flash. Read the included instructions, since the exact steps can vary by device.
Step 2: Format and Prepare the Card
Format your microSD card as FAT32 or exFAT, following the project's instructions for your device. Then extract the contents of the download to the root of the card. This usually creates a set of system folders and a couple of special files that tell the handheld how to boot.
Step 3: Add Your Games
The firmware creates a Roms folder with subfolders for each system. Folder names often include a tag in parentheses that maps the folder to the right emulator. Drop your games into the matching folders.
Place any required BIOS files where the documentation tells you, usually a Bios folder. You supply all games and BIOS files from hardware you own. Our how to organize ROMs and BIOS files guide explains a clean folder structure.
Step 4: First Boot and Play
Put the card in your handheld and power on. You should land on a simple list of systems. Pick a system, pick a game, and play. When you power off mid-game, the firmware remembers your spot and resumes automatically next time. That automatic resume is one of the best parts of the minimal approach.
Step 5: Optional Tweaks
- Box art on NextUI. If your build supports thumbnails, add cover images to the art folder following the naming rules in the docs. Our how to scrape box art guide can help generate them.
- Save backups. Saves and states live in folders on the card. Copy them to your computer regularly. See our save state management guide.
- Updates. New releases usually drop in over the existing setup. Always back up your saves first. Our how to back up your saves before a firmware update guide covers a safe routine.
Troubleshooting
Handheld boots to stock firmware instead. The card may be formatted wrong, or the boot files are in the wrong place. Re-extract the download to the root of the card and check the docs for your device.
A game will not launch. The folder tag may not match an installed emulator, or the system folder name is off. Confirm the folder name against the documentation.
No box art. MinUI does not show art by design. If you want thumbnails, use NextUI on a supported device.
Recommended Handhelds
MinUI and NextUI feel right at home on tiny pocket handhelds. The
pairs a sharp screen with NextUI for a fantastic minimal setup. The is the classic pocket pick and runs both projects well.For more pocket options, see our best micro and pocket handhelds guide. Comparing tiny devices? Our Trimui Brick vs Miyoo Mini Plus comparison breaks it down.
Related reading
 GuideGuide
 Comparison