
Affiliate disclosure: This guide contains affiliate links. As an Amazon Associate, we earn from qualifying purchases at no extra cost to you. Learn more.
RetroArch is the closest thing the emulation world has to a universal remote. Instead of installing a separate app for every console you want to emulate, RetroArch gives you one interface, one controller mapping, one save state system, and one settings menu for everything. This RetroArch beginner guide walks you through every step — from first launch to a fully configured library.
What Is RetroArch?
RetroArch is a front-end for emulation, not an emulator itself. It doesn't know how to run games on its own. What it does is provide a standardized shell — called the libretro API — that individual emulators can plug into. Those individual emulators are called cores.
RetroArch runs on Windows, macOS, Linux, Android, and a wide range of handheld devices. If you're using a Miyoo Mini Plus with Onion OS, RetroArch is already installed and running under the hood.
What Are Cores?
A core is a self-contained emulator that runs inside RetroArch. Think of RetroArch as the frame and each core as a different picture you can hang in it.
Each system typically has one recommended core and sometimes a few alternatives with different accuracy/performance trade-offs. You install only the cores you need.
| System | Recommended Core | Notes |
|---|---|---|
| NES | Nestopia UE | Most accurate |
| SNES | Snes9x | Best compatibility |
| Game Boy / GBC | Gambatte | Accurate color palettes |
| Game Boy Advance | mGBA | Best GBA core available |
| PlayStation 1 | PCSX ReARMed | Best for ARM/handheld hardware |
| PlayStation 1 | Beetle PSX | Best for desktop; more accurate |
| Sega Genesis | Genesis Plus GX | Excellent compatibility |
| Nintendo 64 | Mupen64Plus-Next | Most compatible N64 core |
| Arcade (MAME) | MAME (current) | Use FBNeo for older arcade titles |
For PS2, dedicated emulators like AetherSX2 and NetherSX2 are stronger choices than a RetroArch core. See our PS2 emulators guide for a full breakdown.
Downloading and Installing RetroArch
- Go to retroarch.com and download the stable build for your platform.
- Windows: Run the installer or extract the portable
.zip— either works. The portable version is easier to move around. - macOS/Linux: Extract the archive and launch the RetroArch binary directly.
- Android: Install from the Google Play Store or sideload the APK from the RetroArch site.
No additional setup is needed before launching. RetroArch creates its folder structure on first run.
Navigating the Main Menu
RetroArch uses the XMB (cross media bar) interface by default — the same horizontal icon layout as the PS3 and PSP. Icons are arranged left-to-right across the top; submenus expand vertically below.
Key top-level icons:
- Main Menu — Load content, resume a game, close content
- Settings — All configuration options
- Online Updater — Download cores and update assets
- Import Content — Scan your library
- Playlists — Your scanned game library, organized by system
Controller navigation:
A/Cross— Confirm / enterB/Circle— Back / cancelStart— Open Quick Menu while in-gameF1(keyboard) — Toggle Quick Menu from inside any game
The Quick Menu is where you'll spend most of your time mid-session: it's how you access save states, shaders, cheats, and per-game settings without quitting.
Downloading and Installing Cores
With RetroArch open:
- Navigate to Online Updater
- Select Core Downloader
- Find the core you want — cores are listed by system name
- Press
Ato download and install
That's it. The core is now available whenever you load content. Cores are stored in the cores/ folder inside your RetroArch directory, as .so (Linux/Android), .dylib (macOS), or .dll (Windows) files.
Install a core for each system you plan to use before scanning your library.
Adding a Content Directory
RetroArch needs to know where your game files live before it can scan them.
- Go to Settings → Directory
- Find File Browser and set it to the root folder that contains your games
- (Optional) Also set Content to the same location — this is the starting point when you use "Load Content" manually
This doesn't move or copy anything. It just tells RetroArch where to start looking.
Scanning Your Library
Once your content directory is set and your cores are installed:
- Go to Import Content → Scan Directory
- Navigate to your games folder and select it
- RetroArch will scan each file, match it against its internal database by checksum, and add recognized games to the appropriate playlist
When the scan finishes, your Playlists tab will be populated with system-specific lists — "Nintendo - Super Nintendo Entertainment System," "Sony - PlayStation," etc.
If a game doesn't appear in a playlist: It may not have matched a database entry. You can still play it by going to Main Menu → Load Content, navigating to the file, and choosing a core manually.
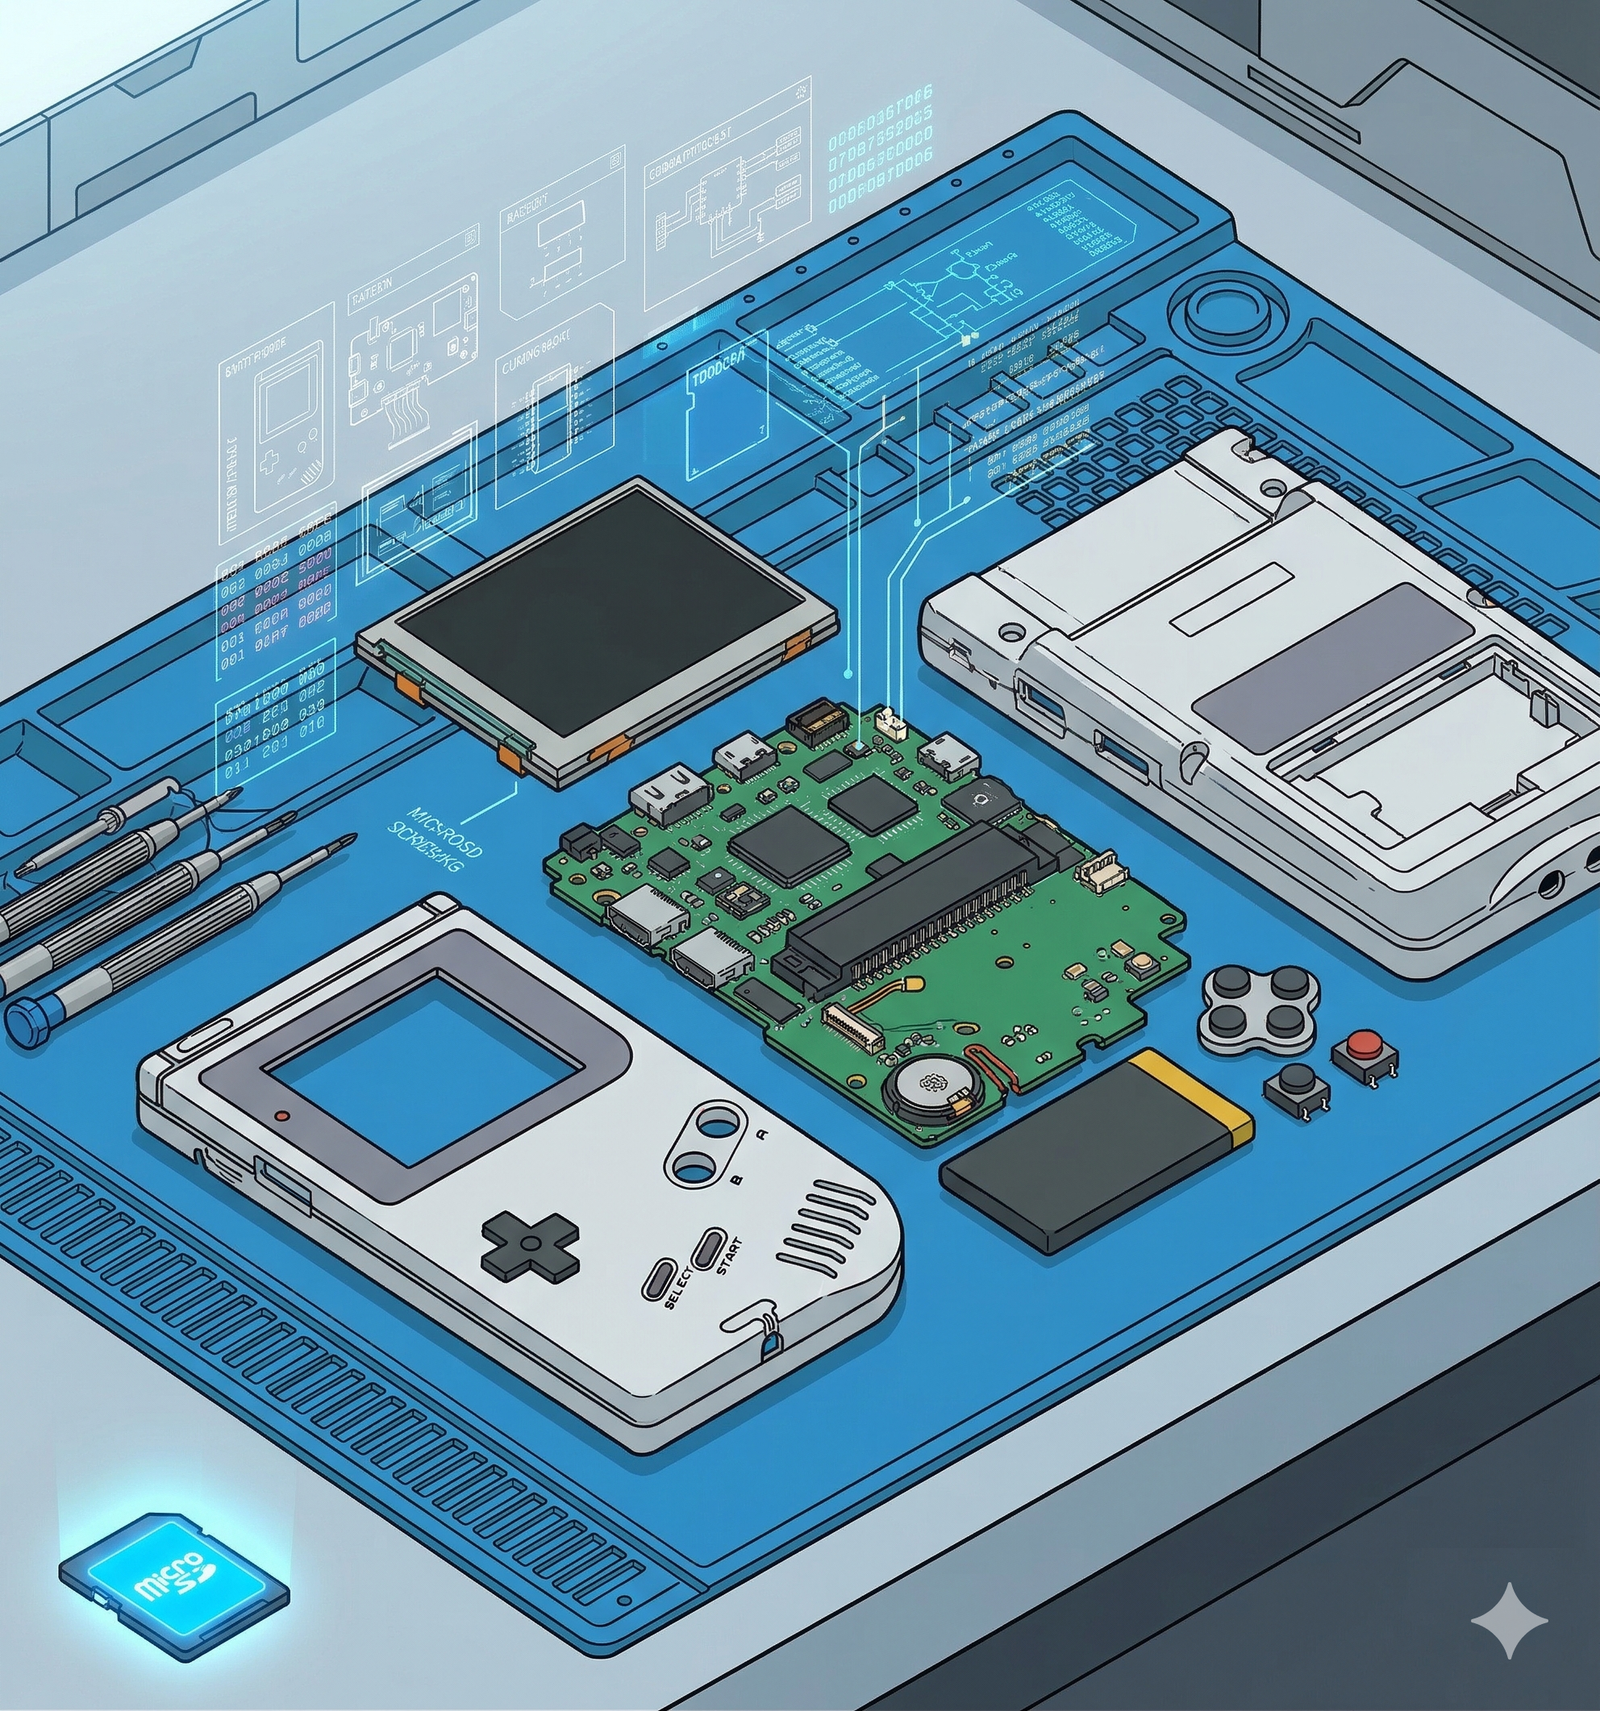
BIOS Files: What They Are and Where They Go
Some systems require a BIOS file to run games. A BIOS is the original firmware that shipped inside the console — the low-level code that boots the system and manages hardware handshakes. RetroArch can't legally include these files, so you need to provide your own.
Systems that commonly require a BIOS:
| System | BIOS filename | Required? |
|---|---|---|
| PlayStation 1 | scph1001.bin | Required for most games |
| PlayStation 2 | ps2-0200a-20040614.bin (or similar) | Required |
| Sega CD / Mega-CD | bios_CD_U.bin | Required |
| Game Boy Advance | gba_bios.bin | Optional (most games work without) |
| Nintendo DS | bios7.bin, bios9.bin, firmware.bin | Required |
The legal way to obtain a BIOS is to dump it from a console you own using the appropriate dumping tool for that system. For more on the legal landscape around BIOS files, see our ROMs, BIOSes, and Legality guide.
Where to put BIOS files: Drop them into the system/ folder inside your RetroArch directory. On most platforms this is:
- Windows:
C:\RetroArch\system\ - Android:
/storage/emulated/0/RetroArch/system/ - Onion OS (Miyoo):
/mnt/SDCARD/RetroArch/system/
Filenames are case-sensitive on Linux and Android — match them exactly.
Saving and Loading States
RetroArch has two completely separate save systems, and understanding the difference matters.
In-game saves (battery saves) work exactly like the original hardware — the game writes to a .srm save file when you use the in-game save feature. These are compatible across emulators and will persist forever.
Save states are snapshots of the entire emulator state at a specific moment — not just the game's save data, but every register, every variable, every pixel on screen. They're powerful but tied to a specific core version.
Keyboard shortcuts (defaults):
F2— Save state (current slot)F4— Load state (current slot)F6/F7— Cycle through save slots 0–9
Controller: Open the Quick Menu (Start or F1) → Save State / Load State
Caution: Save states are core-specific. If you switch from PCSX ReARMed to Beetle PSX mid-playthrough, your save states won't load correctly. In-game saves work fine across core switches.
Settings Worth Changing as a Beginner
RetroArch ships with sensible defaults, but three settings are worth adjusting right away.
Video Scaling
Go to Settings → Video → Scaling:
- Integer Scale: Turn this ON. It forces RetroArch to scale the image in whole-number multiples (1×, 2×, 3×), which keeps pixels perfectly square and avoids blurry interpolation artifacts.
- Aspect Ratio: Set to Core Provided. This respects the aspect ratio the original hardware intended — most retro consoles output 4:3, not widescreen.
- Avoid Stretched unless you want a warped image.
Rewind
Go to Settings → Frame Throttle → Rewind:
- Enable Rewind: Turn ON to hold a button and rewind gameplay in real time — great for tricky platformer sections.
- Set Rewind Buffer Size to 20–50 MB to control how far back you can rewind.
- Disable this for demanding systems (N64, PS1, Dreamcast). Rewind requires RetroArch to store many frames of state data per second, which adds CPU overhead and can cause slowdown on weaker hardware.
Run-Ahead
Go to Settings → Latency → Run-Ahead:
- Number of Frames to Run-Ahead: Set to 1 or 2 frames. Run-Ahead reduces input lag by simulating frames slightly ahead of the display, then rolling back — the same technique fighting game netcode uses.
- This is most noticeable on fast games like platformers and shmups.
- Disable for demanding systems — the overhead is similar to Rewind and can cause slowdown on N64, PS1, and above.
How Shaders Work
Shaders are GPU filters that post-process the game's output before it hits your screen. They can add CRT scanlines to make NES games look like they're playing on a tube TV, simulate the LCD grid of a Game Boy screen, or apply clean pixel-art upscaling without blurring.
Enabling a shader takes about ten seconds: load a game, open the Quick Menu, go to Shaders → Load Shader Preset, and pick one from the shaders_glsl/ or shaders_slang/ folder. Save it as a Game Preset to apply it permanently to that title.
For a full walkthrough of the best shader presets — including which CRT shaders work well on low-power handheld hardware — see our RetroArch Shaders guide.
Related Guides
- RetroArch Shaders: A Complete Visual Upgrade Guide — CRT, LCD, and pixel-art shader presets explained
- Best PS2 Emulators for Retro Handhelds — When to step outside RetroArch for PS2
- ROMs, BIOSes, and Legality: The Full Breakdown — The legal landscape around emulation and BIOS files
- How to Set Up Onion OS on the Miyoo Mini Plus — RetroArch comes pre-installed; this gets everything else configured
Related reading
 GuideGuideGuide