
Affiliate disclosure: This guide contains affiliate links. As an Amazon Associate, we earn from qualifying purchases at no extra cost to you. Learn more.
The Retroid Pocket 6 is one of the best handheld emulation devices available, but it ships as a blank Android device. Unlike Linux-based handhelds that come pre-loaded with emulators, the RP6 expects you to install your own setup. That's actually an advantage — you get exactly the emulators you want, configured your way — but it means the first hour requires some deliberate setup.
This guide walks through the complete process: initial configuration, emulator installation, game file transfer, frontend setup, and per-system settings optimized for the RP6's Snapdragon 8 Gen 2 hardware. Follow it once and your device will be ready to run everything from NES to PS2 and GameCube.
Affiliate disclosure: This page contains affiliate links. As an Amazon Associate, we earn from qualifying purchases at no extra cost to you.
What You Need
- Retroid Pocket 6 (any color/model)
- Wi-Fi connection for downloading apps
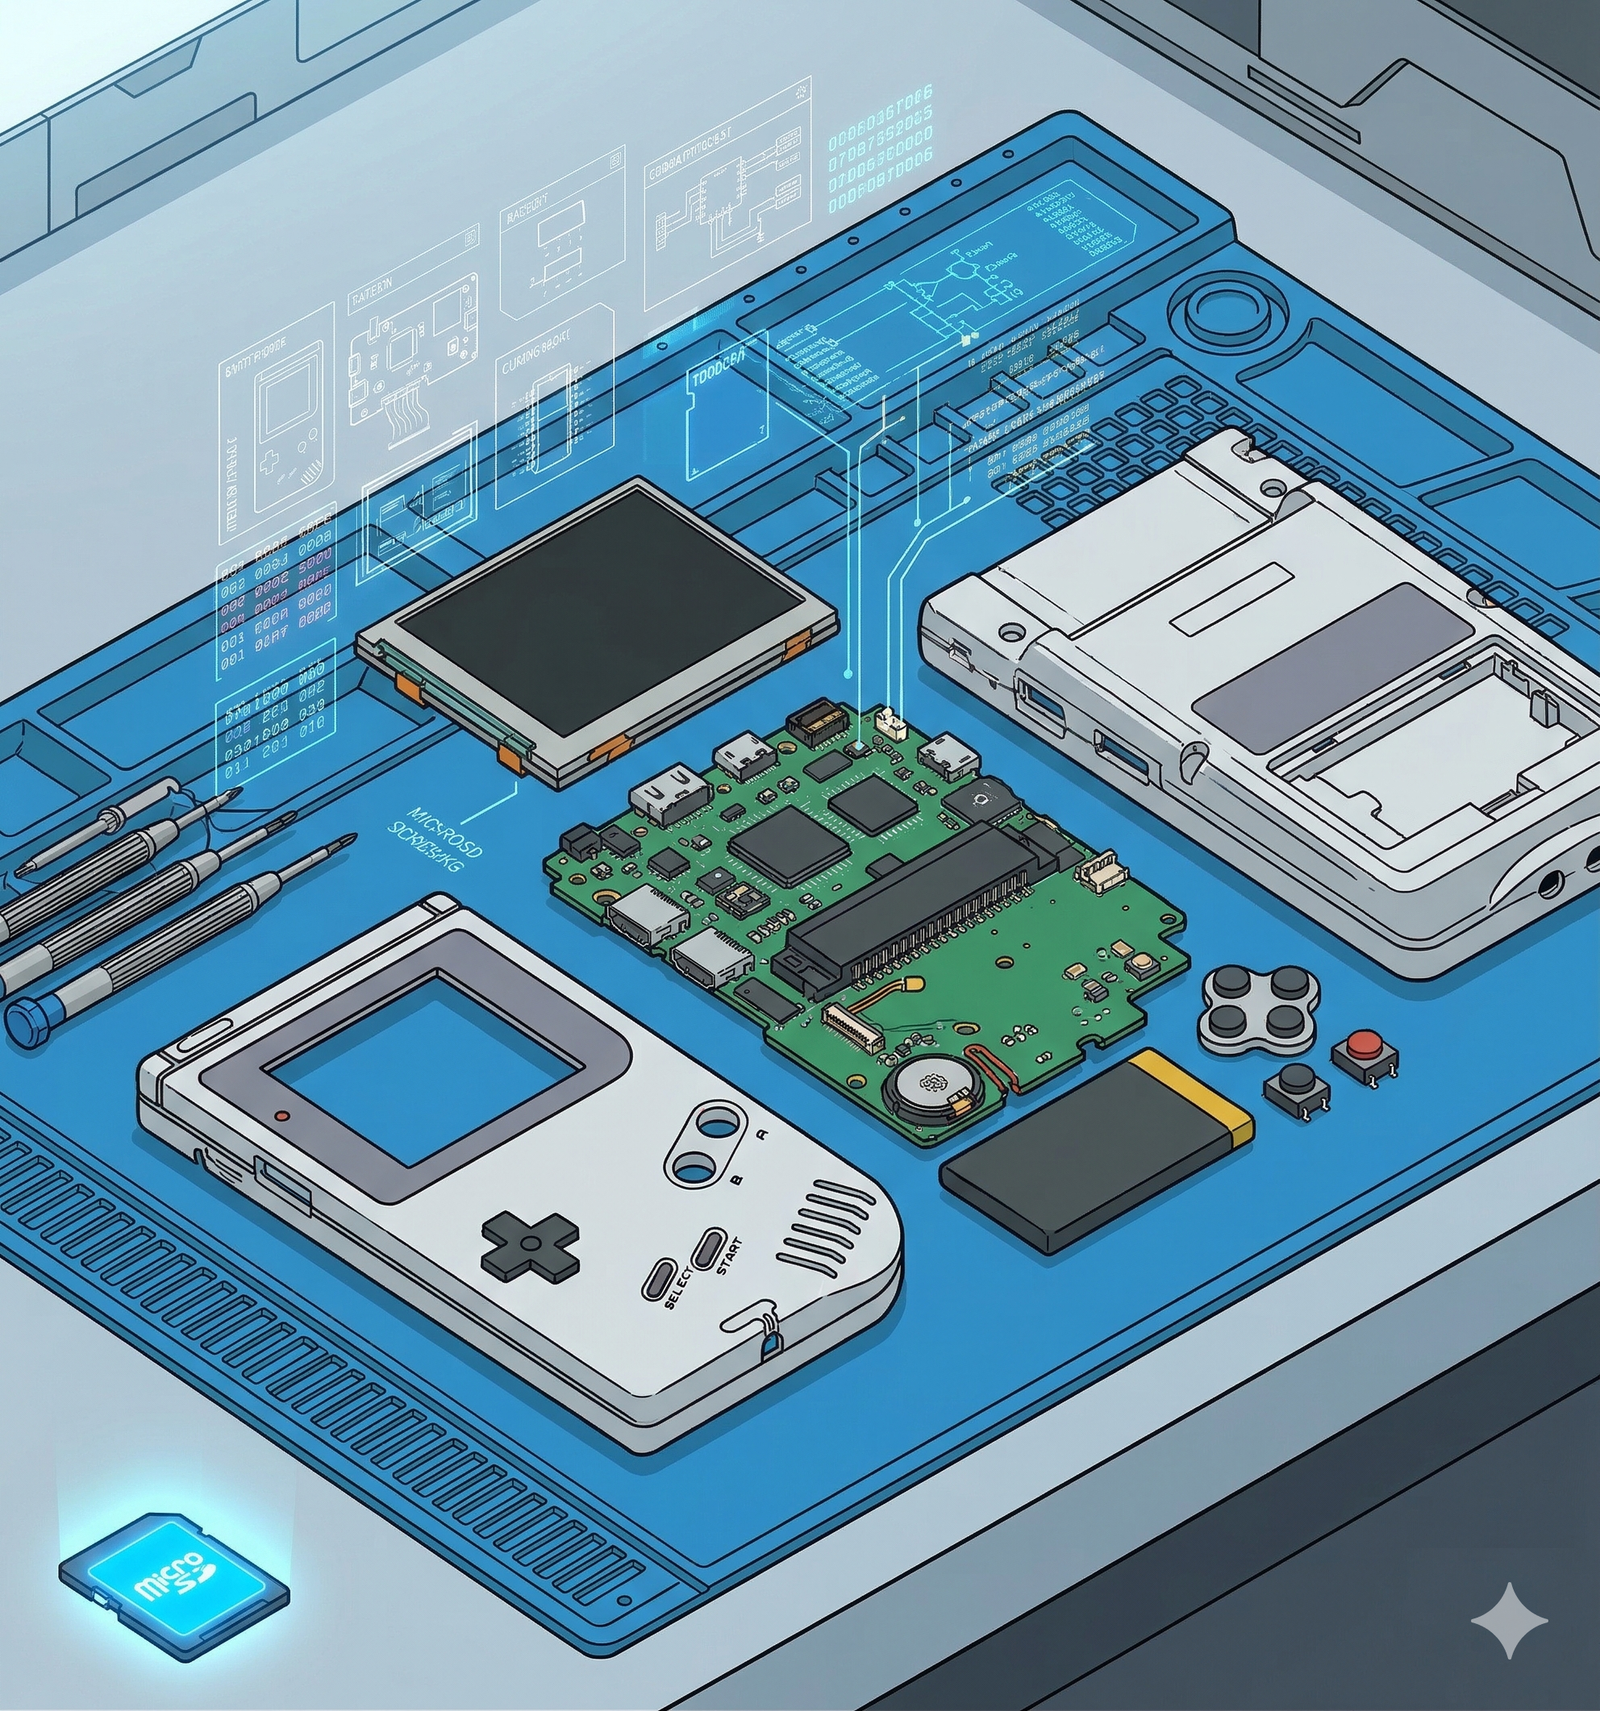
- MicroSD card — 256GB or larger recommended; Samsung EVO Select and SanDisk Extreme are reliable choices
- USB-C cable and a computer for transferring game files
- Your legally owned game backups — this guide assumes you have your own ROM files and BIOS dumps from hardware you own
Step 1: Initial Android Setup
Power on the RP6. You'll be walked through a standard Android setup flow. A few decisions to make here:
Google account: Sign in if you plan to use the Play Store (recommended — most emulators are available there). You can skip if you prefer to sideload everything via APK, but Play Store is easier to manage for updates.
Wi-Fi: Connect before proceeding. You'll need it for the firmware update and app downloads.
Firmware update: Once you're past the initial setup screen, go to Settings → System → System Update (exact path may vary by firmware version) and install any available OTA updates. Retroid pushes fixes and optimizations through the first few weeks after launch — start current.
Developer options (recommended): Go to Settings → About → Build Number and tap it seven times to unlock Developer Options. Then go to Settings → Developer Options and set Window animation scale, Transition animation scale, and Animator duration scale all to 0.5x. This makes the UI feel noticeably faster and snappier without affecting game performance.
Step 2: Install Emulators
Install emulators for the systems you want to play. Below are the recommended options for each system on the RP6.
RetroArch (Play Store)
RetroArch is the multi-system emulation hub — one app that handles NES, SNES, Genesis, Game Boy, GBA, PS1, N64, and more via swappable cores. Install it from the Play Store, then launch it and go to Main Menu → Load Core → Download Core to fetch the cores you need:
- NES / Famicom: Mesen
- SNES / Super Famicom: Snes9x
- Game Boy / GBC / GBA: mGBA
- Sega Genesis / Mega Drive: Genesis Plus GX
- PlayStation 1: DuckStation (standalone is better — see below) or Beetle PSX HW
- Nintendo 64: Mupen64Plus-Next
- Game Boy Advance: mGBA
See the RetroArch setup guide for a full walkthrough of core installation and configuration.
DuckStation — PS1 (Play Store)
The standalone DuckStation app is the best PS1 emulator on Android. It's faster to configure than the RetroArch core, has a cleaner UI, and supports per-game settings. Install from the Play Store.
AetherSX2 / NetherSX2 — PS2
PS2 emulation requires a community fork. NetherSX2 is the actively maintained version and the current recommendation — search for the APK directly, as it's not on the Play Store. Install via sideloading (enable Install from unknown sources in Android settings, then open the APK file from your Downloads folder).
For full details on PS2 emulator choice and configuration, see the PS2 Emulators guide.
PPSSPP — PSP (Play Store)
Available directly from the Play Store. PPSSPP Gold is a paid version that supports the developer; the free version is functionally identical for emulation purposes.
Dolphin — GameCube / Wii (Play Store or sideload)
The official Dolphin for Android is on the Play Store. The Dolphin MMJR2 fork (sideload only) has better performance on some titles — worth testing if you find a specific game struggling. For most GameCube and Wii games on the RP6, the official release is fine.
Azahar (Citra fork) — 3DS (sideload)
The original Citra was discontinued. Azahar is the current maintained fork. Download the APK from the Azahar project page and sideload it. 3DS emulation on the RP6 is solid — most titles run at full speed.
Step 3: Transfer Your Games
There are two methods for getting game files onto the RP6:
Method A — USB-C (easiest for large libraries): Connect the RP6 to your computer with a USB-C cable. On the RP6, swipe down the notification shade and tap USB Charging → File Transfer. The device will appear as a drive on your computer. Navigate to your microSD card and copy files directly.
Method B — MicroSD card directly: Eject the card from the RP6, insert it into a card reader on your computer, and copy files. Faster for bulk transfers.
Recommended Folder Structure
Keep your game files organized by system. This structure works cleanly with RetroArch, DuckStation, NetherSX2, and most frontends:
/Roms/
  NES/
  SNES/
  GBA/
  GBC/
  Genesis/
  N64/
  PS1/
  PS2/
  PSP/
  GameCube/
  Wii/
  NDS/
  3DS/
Put this folder at the root of your microSD card. Frontends like Daijishō and ES-DE will scan these paths to build your library.
BIOS Files
Some systems require BIOS dumps from the original hardware to emulate accurately:
- PS1: Needs a PS1 BIOS file. DuckStation expects it at
DuckStation/bios/on your internal storage or SD card. - PS2: NetherSX2 requires a PS2 BIOS dump. Place it in
NetherSX2/bios/. - Game Boy Advance: Optional but recommended for accuracy. mGBA accepts it via its BIOS settings menu.
Each emulator's settings menu has a BIOS path option — point it at wherever you've stored your dump. This guide does not link to BIOS sources; you'll need to dump these from hardware you own.
Step 4: Set Up a Frontend (Optional but Recommended)
The RP6 can launch emulators directly from each app's own interface, but a frontend gives you a unified game library with box art, metadata, and a console-like browsing experience. Three options worth knowing:
Daijishō (Recommended — Free)
Daijishō is a polished Android frontend with a Netflix-style grid interface. It's the easiest to configure and looks excellent on the RP6's OLED screen.
Setup:
- Install Daijishō from the Play Store.
- Open it and tap the + button to add a platform.
- Select a system (e.g., Super Nintendo), then point it at your ROM folder (e.g.,
/storage/sdcard1/Roms/SNES/). - Assign the emulator: select RetroArch (or the relevant standalone app) and configure the launch arguments for the correct core.
- Tap Scrape to automatically pull box art and metadata from online databases.
- Repeat for each system.
The scraping step requires a Wi-Fi connection and takes a few minutes per system. The result is a clean, browsable library for every system you've set up.
ES-DE (Free / paid tier)
ES-DE is the more traditional EmulationStation experience — list-based navigation, theme support, and a well-established configuration model. If you've used EmulationStation on a Linux handheld before, ES-DE will feel immediately familiar. Available on the Play Store.
Retroid Launcher
The built-in Retroid launcher is functional and requires no additional setup — it's already on your device. It's less customizable than Daijishō or ES-DE, but it's a reasonable starting point if you want to start playing immediately and configure a proper frontend later.
Step 5: Recommended Settings Per Emulator
The RP6's Snapdragon 8 Gen 2 handles most emulation tasks without any special configuration, but these settings get the best results for each system.
RetroArch
- Driver: Vulkan (better performance and compatibility than OpenGL on the RP6)
- Run-Ahead: Enable for NES, SNES, and GBA — set to 1 frame. This reduces input latency noticeably. Access via Quick Menu → Latency → Run-Ahead to Reduce Latency. Avoid on demanding systems (N64, PS1) where it adds CPU overhead.
- Integer scaling: Enable for pixel-art systems (NES, SNES, GBA, Genesis) to keep pixels sharp. Found under Settings → Video → Scaling.
- Shaders: See the RetroArch Shaders guide for CRT and LCD shader recommendations that make retro games look great on the RP6's OLED panel.
NetherSX2 (PS2)
- Renderer: Vulkan
- Internal resolution: 2x Native — the sweet spot for the RP6. Renders at approximately 1280×896, which looks sharp on the screen without the overhead that 4x demands. Most PS2 games run at full speed at 2x.
- Widescreen patches: Available per-game for titles that support them. Enable in the per-game settings menu.
- Per-game profiles: For demanding titles (God of War, Shadow of the Colossus), create a per-game profile with slightly reduced internal resolution if you hit frame drops.
Dolphin (GameCube / Wii)
- Backend: Vulkan
- Internal resolution: 2x Native (1280×1056 for GameCube) — handles most titles well. Drop to 1x for demanding Wii titles if needed.
- Sync on Skip Idle: Enabled (reduces CPU overhead without accuracy loss for most games)
- JIT Recompiler: Enabled (default — make sure it's on)
PPSSPP (PSP)
- Backend: Vulkan
- Rendering resolution: 3x PSP (1344×756) — the RP6 handles this for almost all PSP titles. Step up to 4x if you want sharper output and the game runs well.
- Texture filtering: Anisotropic 16x
- Frameskipping: Off — the RP6 doesn't need it for PSP
Step 6: Quality of Life Tips
External Bluetooth controllers: The RP6 pairs with any Bluetooth controller via Settings → Connected Devices → Pair new device. Useful for couch play or games that benefit from a full-sized controller layout. Most Android emulators will automatically recognize a connected controller.
Per-game emulator profiles: Both RetroArch and NetherSX2 support per-game settings overrides. If a specific title needs a different internal resolution or renderer setting, save it as a game-level override rather than changing your global config. In RetroArch: Quick Menu → Overrides → Save Game Override.
Screen refresh rate: The RP6's display supports 120Hz. For emulators that run at 60fps (most retro systems), you may want to pin to 60Hz to reduce battery consumption. Set this in Settings → Display → Screen refresh rate. Some frontends and emulators handle 120Hz fine — test per-app.
Battery optimization: In Settings → Battery → Battery Optimization, set RetroArch, NetherSX2, Dolphin, and PPSSPP to Unrestricted. This prevents Android from throttling them mid-session.
Auto-save / Auto-load: Enable in each emulator's settings. For RetroArch: Settings → Saving → Auto Save State (set to save every 60 seconds). This means putting the device to sleep mid-game saves your progress automatically.
Related Guides
- Retroid Pocket 6 Review — full hardware breakdown and emulation benchmarks
- PS2 Emulators: AetherSX2 vs NetherSX2 — which PS2 emulator to use and how to configure it
- RetroArch Shaders Guide — make retro games look great on the RP6's OLED screen
Related reading
 GuideGuideGuide