
Affiliate disclosure: This guide contains affiliate links. As an Amazon Associate, we earn from qualifying purchases at no extra cost to you. Learn more.
Shoulder buttons are where many budget handhelds cut corners. They feel mushy, register inconsistently, or wear out fast. The good news is that they are one of the most popular mod targets, with options ranging from a simple drop-in kit to a soldered microswitch upgrade that feels genuinely clicky. This guide covers the paths and how to do them.
We frame all of this around maintaining and improving hardware you own.
Affiliate disclosure: This page contains affiliate links. As an Amazon Associate, we earn from qualifying purchases at no extra cost to you.
Why Shoulder Buttons Feel Bad
Many handhelds use a simple rubber membrane or a low quality dome under the shoulder buttons. That gives a soft, vague press with no clear click. Mods replace or improve that mechanism so each press is crisp and reliable, which matters a lot for fighting games, racers, and anything that leans on the triggers.
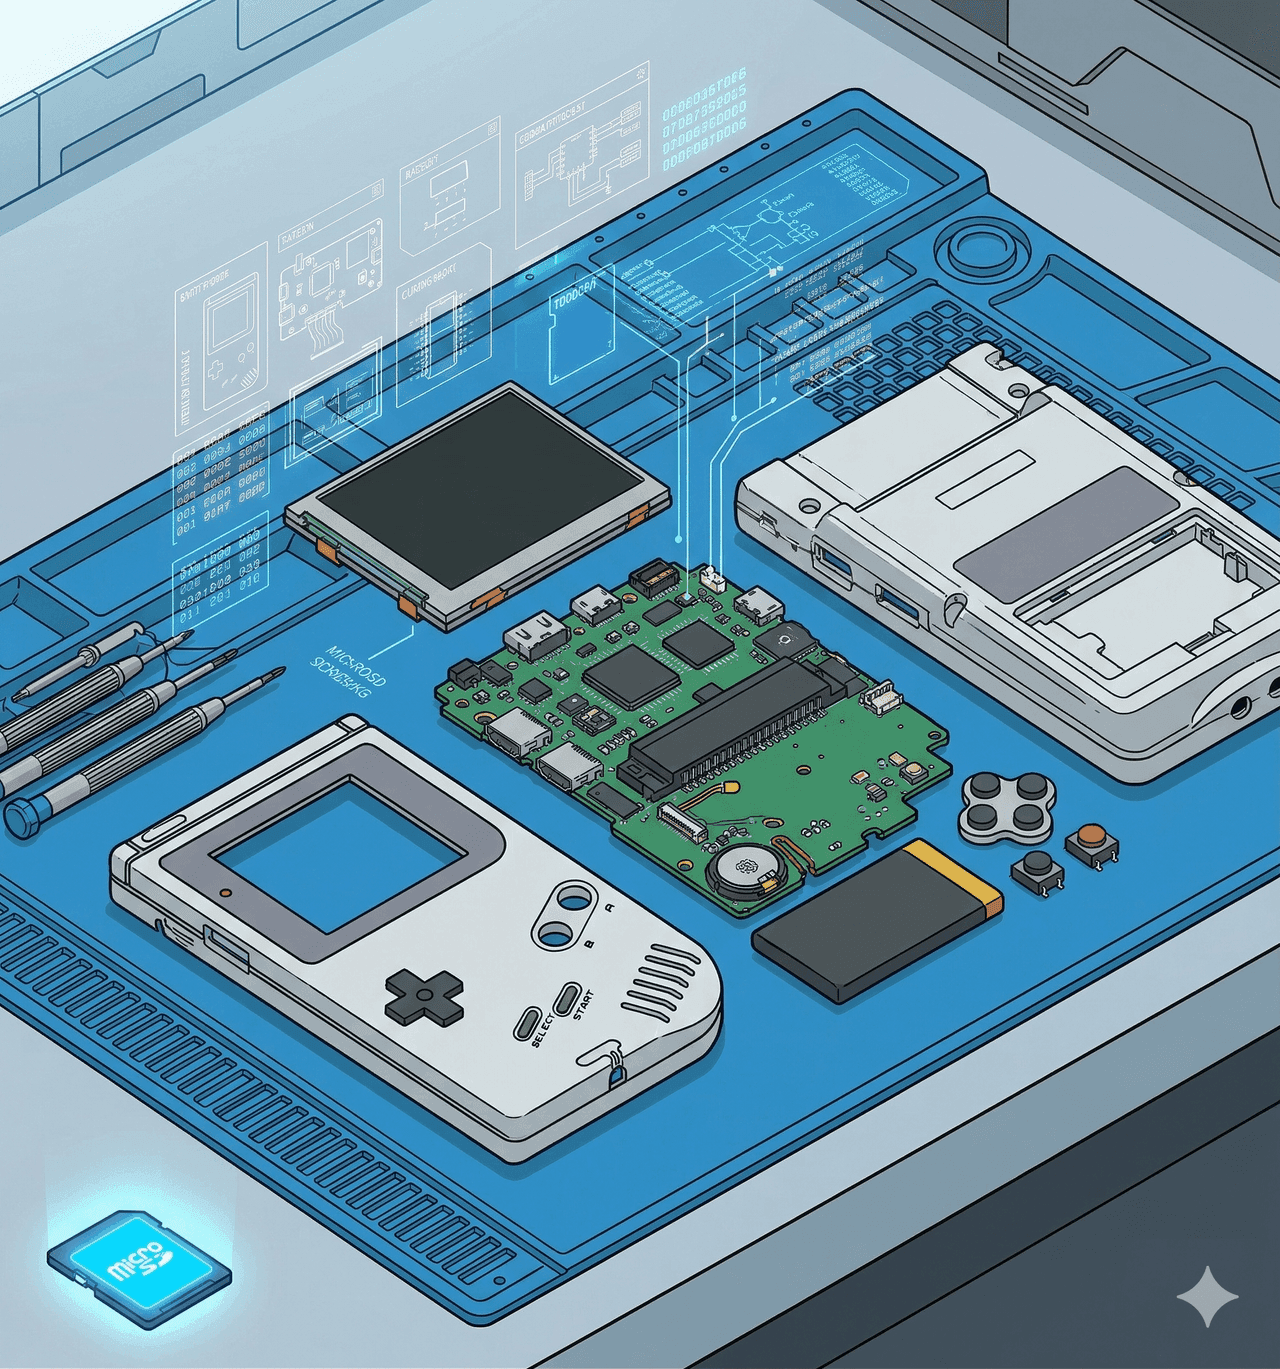
New to opening devices? Read our beginner's modding guide and shell swap guide first, since the disassembly steps are the same.
The Two Main Approaches
- Drop-in button kits. Some devices have aftermarket shoulder buttons or improved membranes that simply replace the originals with no soldering. This is the easy path.
- Microswitch mods. Replacing the contact with a tactile microswitch gives the best, clickiest feel. This usually needs soldering, but the result is excellent.
Pick the drop-in route if you want simple. Pick the microswitch route if you want the best feel and you can solder.
What You Need
- The correct shoulder button kit or microswitches for your model
- A precision screwdriver set and plastic pry tools
- Tweezers for small parts
- A soldering iron and solder, for the microswitch route
The
covers the basics, and a handles the microswitch path. Buy a button kit listed for your exact device.Drop-In Kit Steps
- Power off and remove storage.
- Open the shell following our shell swap guide, watching for ribbon cables.
- Locate the shoulder mechanism. Note how the buttons and any springs or membranes sit.
- Remove the old buttons. Set the small parts aside in order.
- Fit the new buttons. Seat the replacement buttons and any included membranes. The fit should be snug but not tight. Sand a pin lightly if it binds.
- Test before closing. Power on and press each shoulder button to confirm it registers.
- Close it up. Reconnect cables, press the shell together, and replace the screws.
Microswitch Mod Steps
The early steps match the drop-in route. The difference is the contact.
- Open the device and find the shoulder contacts on the board.
- Desolder the old contact carefully, keeping the pads clean.
- Solder in the tactile microswitch in the correct orientation, making clean joints with no bridges.
- Check button travel. The button should press the switch with a clear click and return fully.
- Test before closing. Power on and confirm each press registers crisply.
- Reassemble and replace the screws.
Common Pitfalls
- Wrong fit. Buttons and switches are model specific. Buy for your exact device.
- Pins too tight. Sand them down a touch so buttons move freely.
- Solder bridges. Inspect microswitch joints so nothing shorts.
- Lost springs. Some shoulder mechanisms use tiny springs. Keep track of them.
After the Mod
Test in a game that uses the triggers heavily. Each press should feel crisp and register every time. If a button sticks, open up and check for a tight pin or a misaligned spring.
The Bottom Line
A shoulder button mod fixes one of the most common handheld annoyances. Go drop-in for simplicity, or microswitch for the best click if you can solder. Either way, the triggers will feel far better. For more upgrades, see our guides on Hall effect sticks, shell swaps, and screen swaps.
Related reading
 GuideGuideGuide