
Affiliate disclosure: This guide contains affiliate links. As an Amazon Associate, we earn from qualifying purchases at no extra cost to you. Learn more.
Modding a retro handheld is one of the most satisfying parts of the hobby. You can fix drift, brighten a dim screen, swap a tired battery, or give a device a fresh shell. The good news is that you do not need to be an expert to start. You just need the right tools, a calm pace, and a sense of which mods are easy and which are risky. This guide gets you ready for your first mod.
We frame all of this around maintaining hardware you own.
Affiliate disclosure: This page contains affiliate links. As an Amazon Associate, we earn from qualifying purchases at no extra cost to you.
Why Mod a Handheld at All
Mods fall into two buckets. Repairs fix something that is broken or worn, like drift or a swollen battery. Upgrades make a good device better, like a brighter screen, clickier buttons, or a custom shell. Both extend the life of hardware you already own, and both teach you skills that carry across devices.
The Starter Toolkit
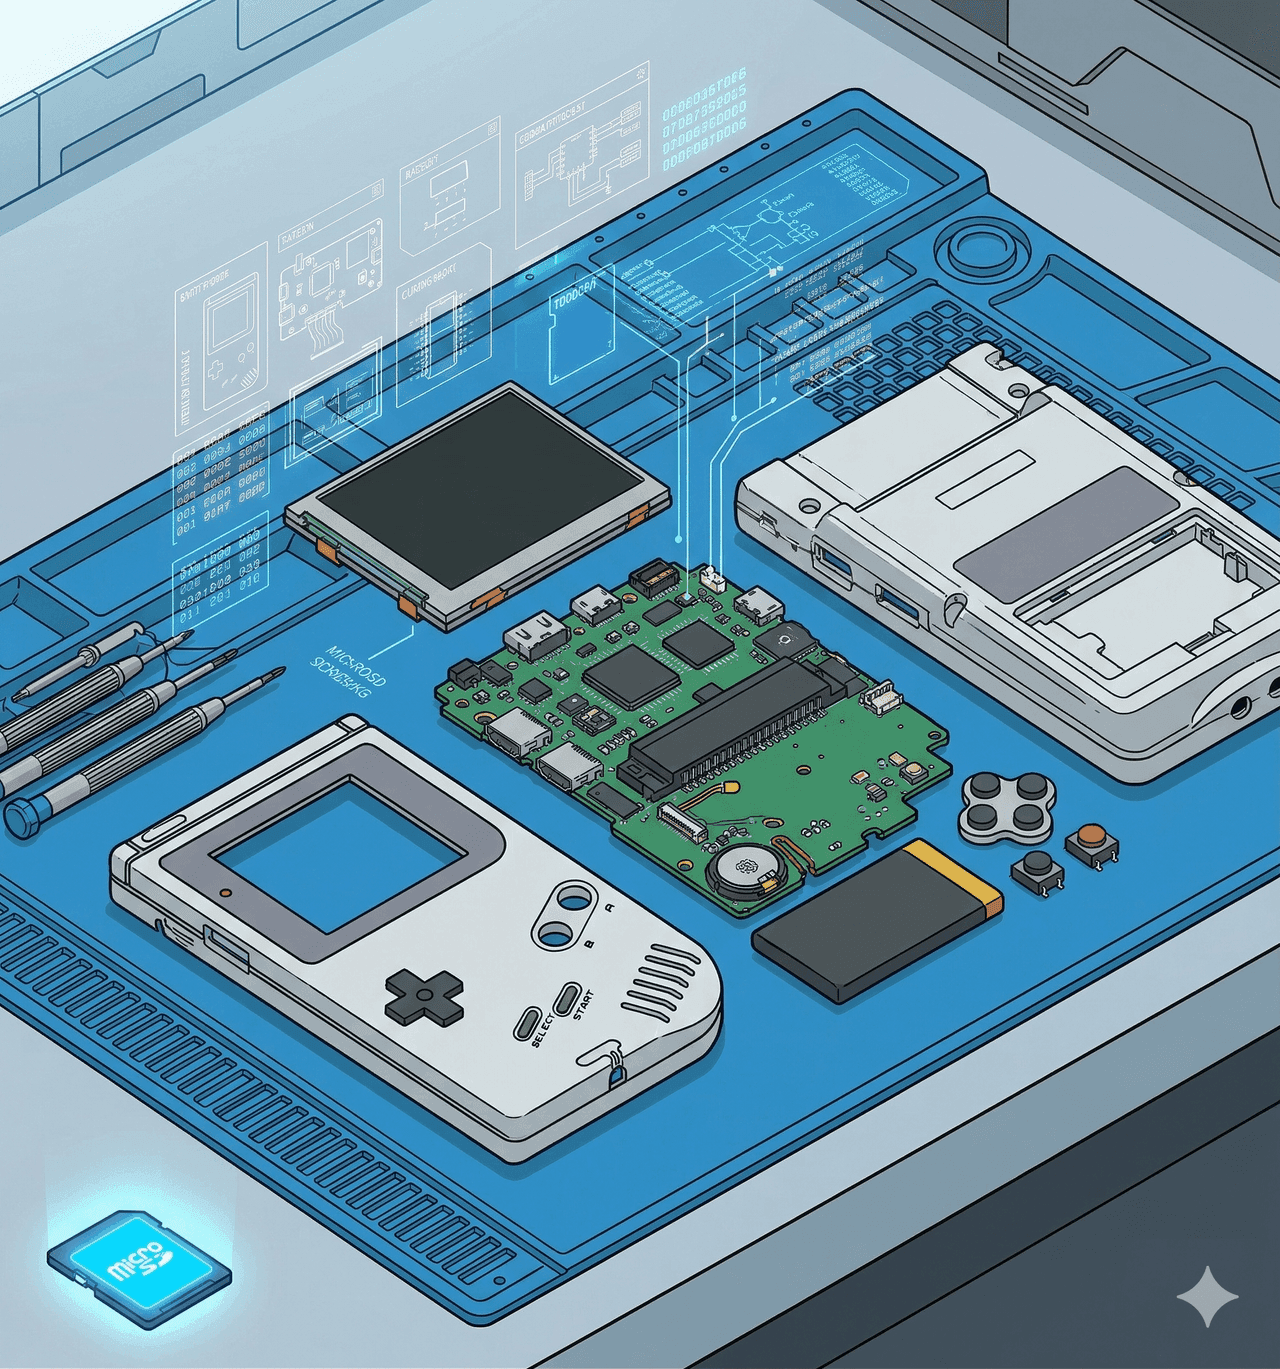
Almost every mod uses the same small set of tools. Buy these once and you are set for years.
- A precision screwdriver set with small Phillips bits, often PH00 and PH000.
- Plastic pry tools or a spudger to open shells without scratching them.
- Tweezers for tiny screws and ribbon cables.
- A small dish or magnetic mat to keep screws organized.
- Isopropyl alcohol and a microfiber cloth for cleaning.
A single kit covers most of it. The
includes the bits, pry tools, and tweezers you need to begin.For anything soldered, you will also want a
, but many first mods need no soldering at all.Easy Mods to Start With
These are low risk and a great way to build confidence.
- Screen protectors and cleaning. Zero risk. See our how to install a screen protector guide.
- Recalibrating sticks. Software only. Our stick drift fix guide covers it.
- Swapping plug-in analog sticks. Some devices use modules that unclip with no soldering. See how to install Hall effect sticks.
- Shell swaps on simple devices. Moving the board to a new shell teaches you the basics. See how to replace a handheld shell.
Mods That Need More Care
These are very doable but call for patience and sometimes soldering.
- Battery replacement. Lithium batteries need respect. See how to replace a handheld battery.
- Soldered stick swaps. Doable with basic soldering skill.
- Shoulder button mods. Fiddly but rewarding. See how to mod shoulder buttons.
- Screen or glass swaps. Delicate ribbon cables are involved. See how to replace a handheld screen or glass.
What Is Reversible and What Is Not
Knowing this prevents heartbreak.
- Reversible: screen protectors, plug-in part swaps, shell swaps. You can put the old parts back.
- Mostly reversible: soldered swaps, if you keep the old part and your solder work is clean.
- Hard to undo: anything that cuts plastic, glues parts permanently, or damages a ribbon cable. Go slow here.
Golden Rules for Your First Mod
- Watch a teardown first. Find a video or guide for your exact model before opening it.
- Power off and remove storage. Always.
- Organize screws by step. They are often different lengths.
- Never force anything. If it resists, a clip or cable is still attached.
- Mind the ribbon cables. They are fragile and connect the shell halves.
- Test before closing. Power on partway through to confirm the mod worked.
The Bottom Line
Start small, buy a basic toolkit, and pick a low-risk mod for your first try. Once you have opened a device or two, the bigger mods stop being scary. From here, browse our specific guides on shell swaps, battery replacement, shoulder buttons, and screen swaps.
Related reading
 GuideGuideGuide