
Affiliate disclosure: This guide contains affiliate links. As an Amazon Associate, we earn from qualifying purchases at no extra cost to you. Learn more.
A shell swap is the mod that hooks people. You take a scratched or boring handheld and give it a fresh body in a new color, often with better buttons. It teaches you how a device comes apart, and the payoff is immediate. Done carefully, it is one of the safest mods because almost nothing is permanent. This guide walks through the whole process.
We frame all of this around maintaining hardware you own.
Affiliate disclosure: This page contains affiliate links. As an Amazon Associate, we earn from qualifying purchases at no extra cost to you.
Why Swap a Shell
- A fresh shell hides scratches and wear.
- Many aftermarket shells offer clear, colored, or transparent looks.
- Some shells improve button feel and fit.
- It is a low-risk way to learn how your device works.
New to modding? Read our beginner's modding guide first.
Before You Buy a Shell
Buy a shell made for your exact model. Shells are not universal, and even similar devices have different screw layouts and button shapes. Check that the listing names your device specifically. Many shells come with replacement buttons and a D-pad, which is a nice bonus.
You can find a
for many popular models. For Anbernic devices, check the official store as well, since some shells are sold there.What You Need
- The correct replacement shell for your model
- A precision screwdriver set, often PH00 or PH000
- Plastic pry tools to open the shell without marks
- Tweezers for small screws and ribbon cables
- A dish to organize screws by step
The
covers all of this.Step by Step
Work slowly and keep your screws sorted. Most of this is patience, not skill.
- Power off and remove storage. Turn the device off fully and take out the microSD cards.
- Remove the back screws. Place them in your dish. Note that screws may differ in length.
- Pry the shell apart gently. Use a plastic tool around the seam. Stop if you feel resistance, since clips or ribbon cables may still hold it.
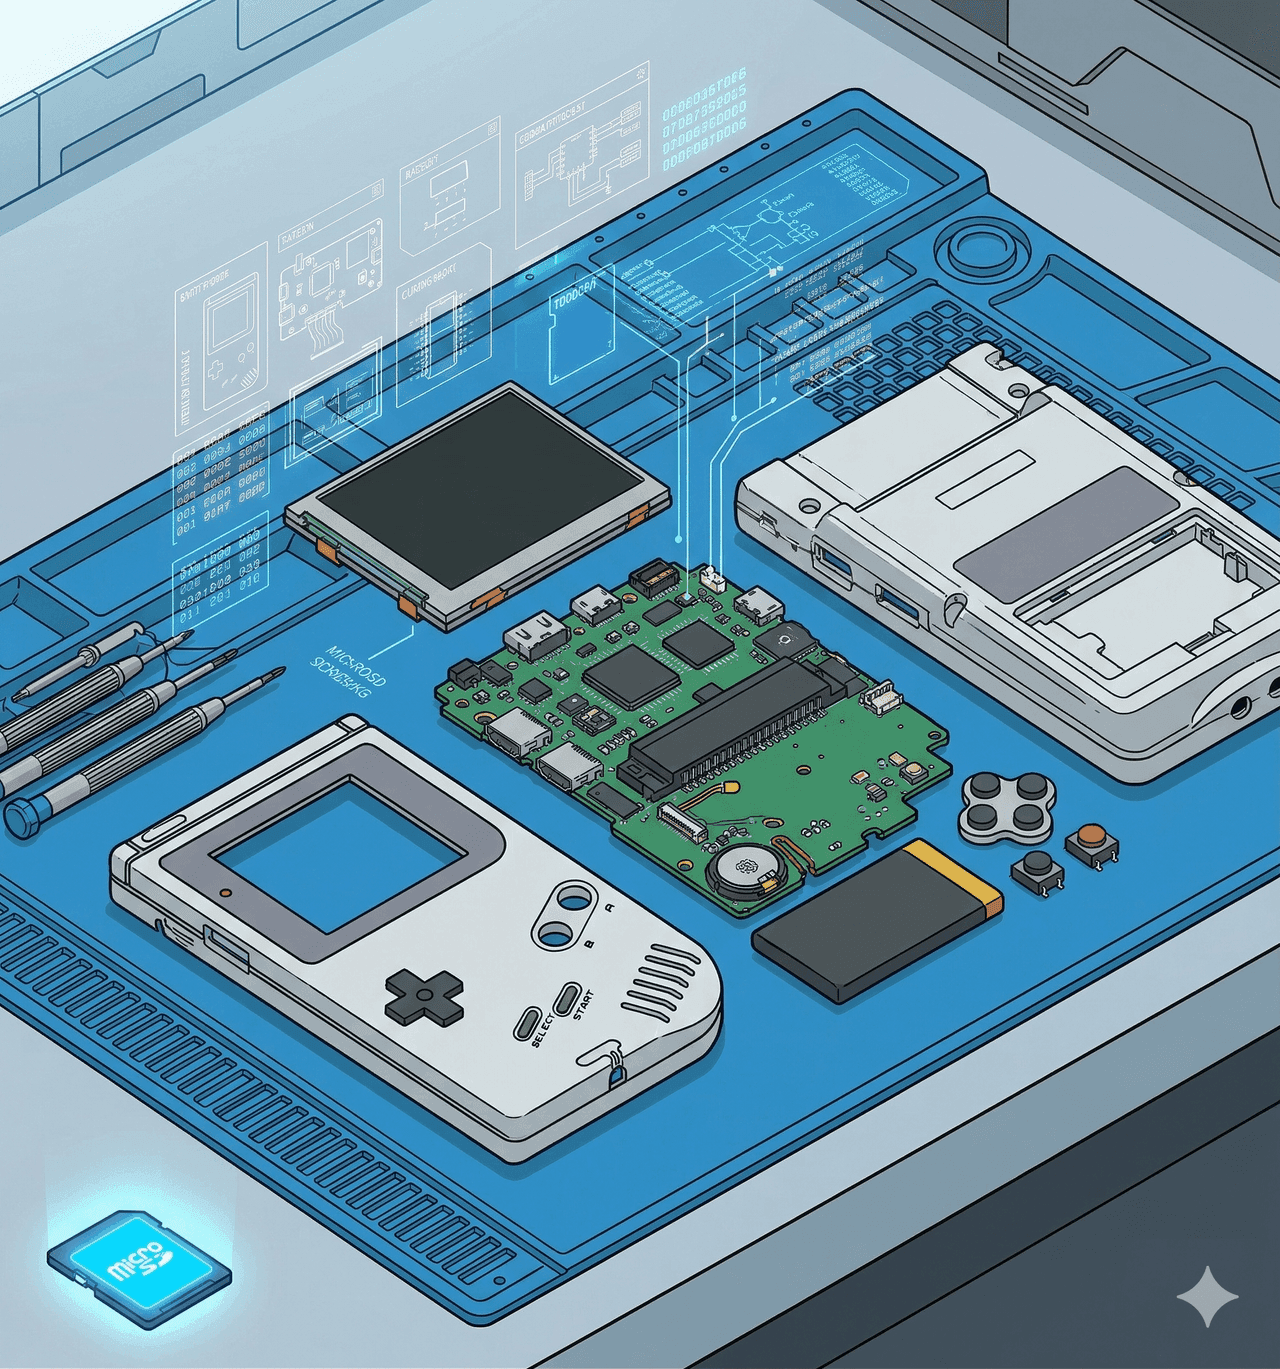
- Find the ribbon cables. These delicate cables connect the two halves and the screen. Note how each is seated before touching anything.
- Free the board. Remove any screws holding the board to the old shell. Lift it out carefully.
- Transfer the buttons. Move the rubber membranes, buttons, and D-pad into the new shell, or use the new ones if included. Keep the membranes clean.
- Seat the board in the new shell. Line up the ports and screw holes. The fit should be snug with no forcing.
- Reconnect ribbon cables. Reseat them fully and lock any retaining clips. This step is the most fragile, so take your time.
- Test before closing. Power on and check the screen, every button, and the sticks.
- Close it up. Press the halves together, replace the screws in their original spots, and reinsert your cards.
Common Pitfalls
- Torn ribbon cables. The number one mistake. Never pull a cable, and always release its clip first.
- Mixed-up screws. Different lengths in the wrong holes can crack the shell. Sort by step.
- Pinched membranes. Make sure button membranes sit flat before closing.
- Forcing the fit. If the board does not seat, a cable or clip is in the way.
After the Swap
Test every input in a game. Press each face button, the shoulders, the D-pad, and the sticks. If a button feels mushy, open it back up and reseat the membrane. Run a stick calibration if movement feels off, using our stick drift fix guide.
The Bottom Line
A shell swap is a confidence-building first mod with a big visual payoff and very little risk. Buy the right shell for your model, work slowly, and respect the ribbon cables. Ready for more? See our guides on battery replacement, shoulder button mods, and screen swaps.
Related reading
 GuideGuideGuide